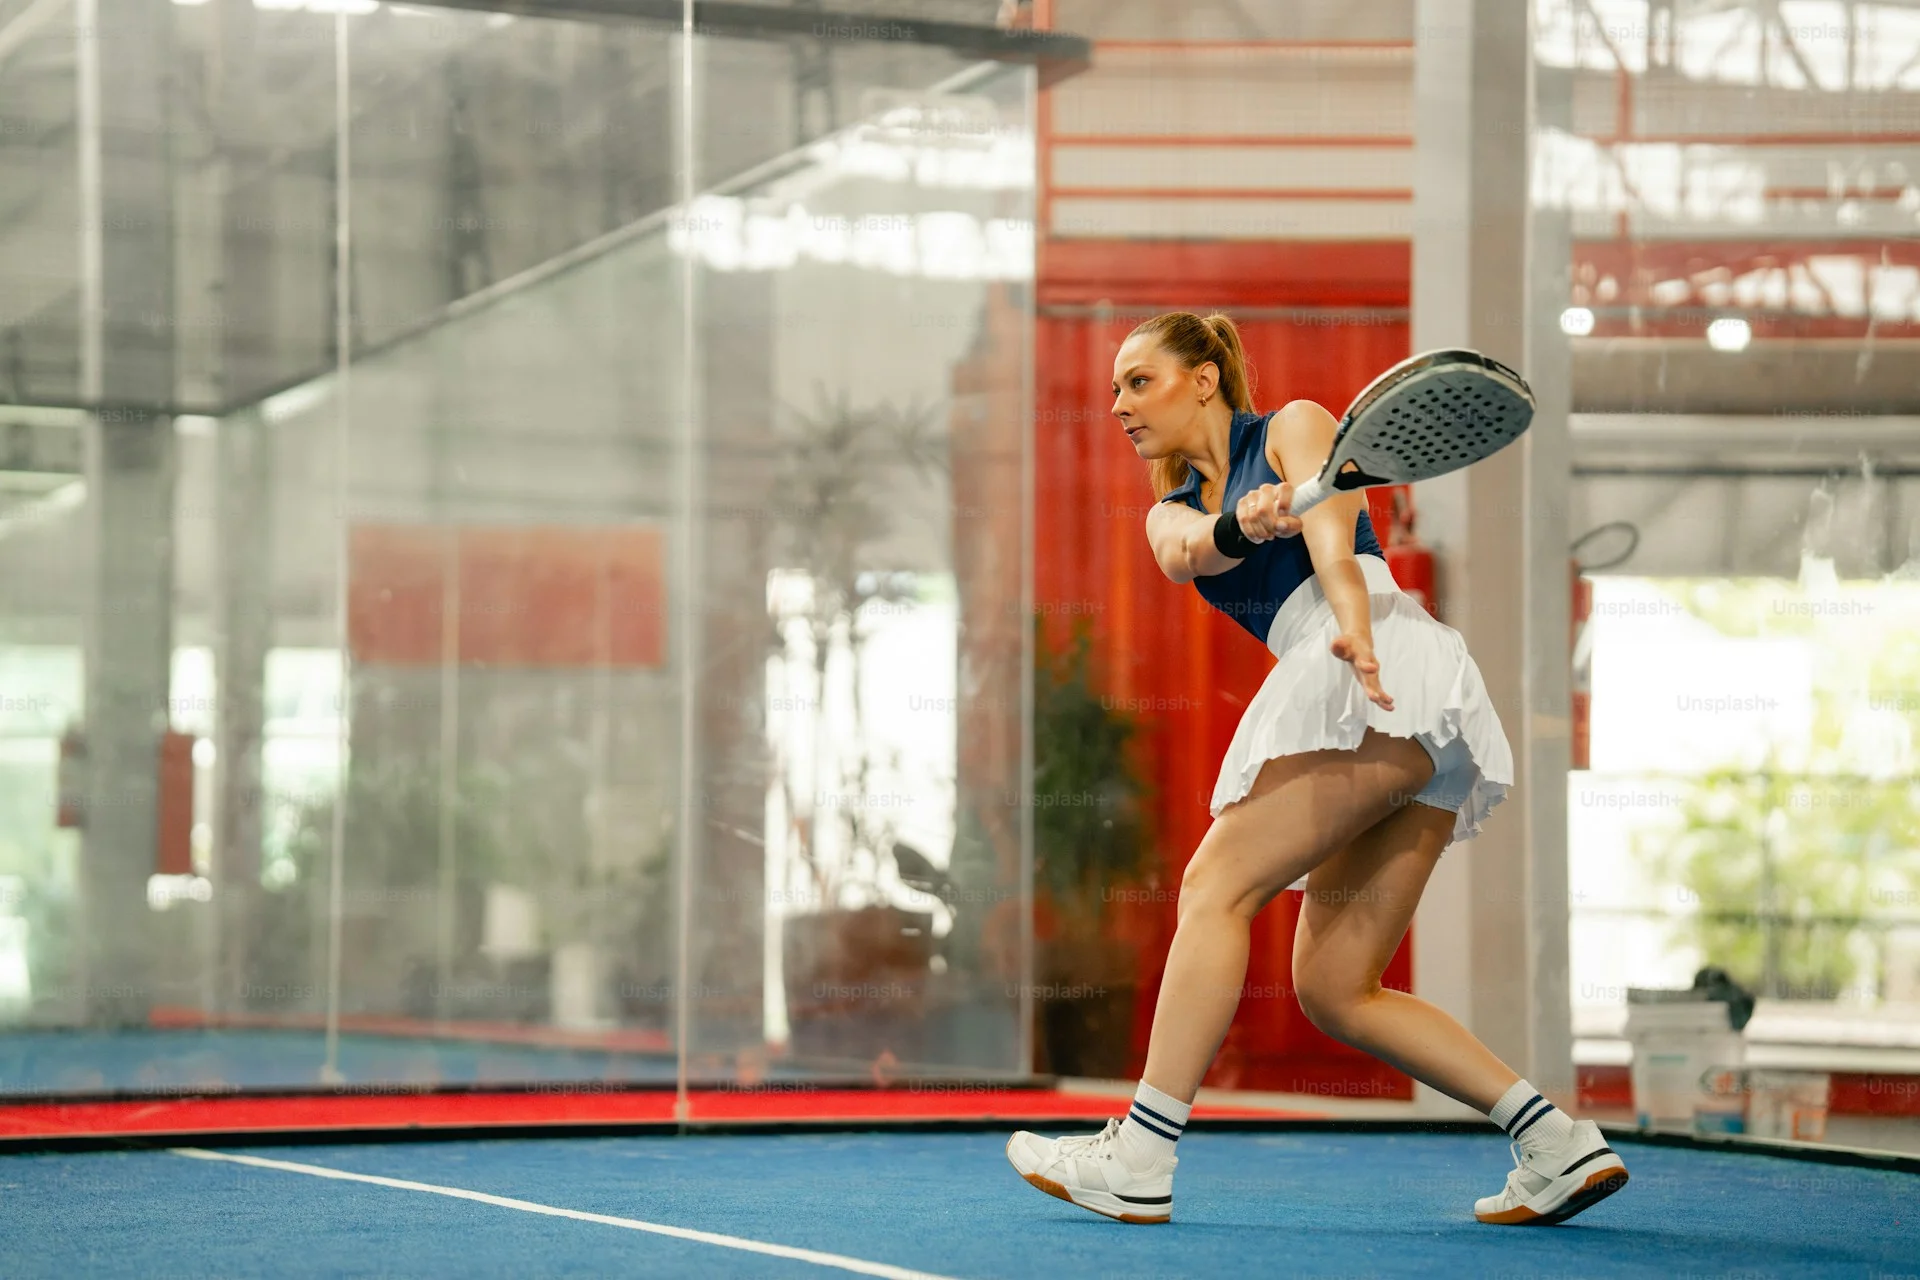
Your grip determines the quality of every shot in padel. Choosing the right grip for each situation is the foundation of consistent and versatile play.
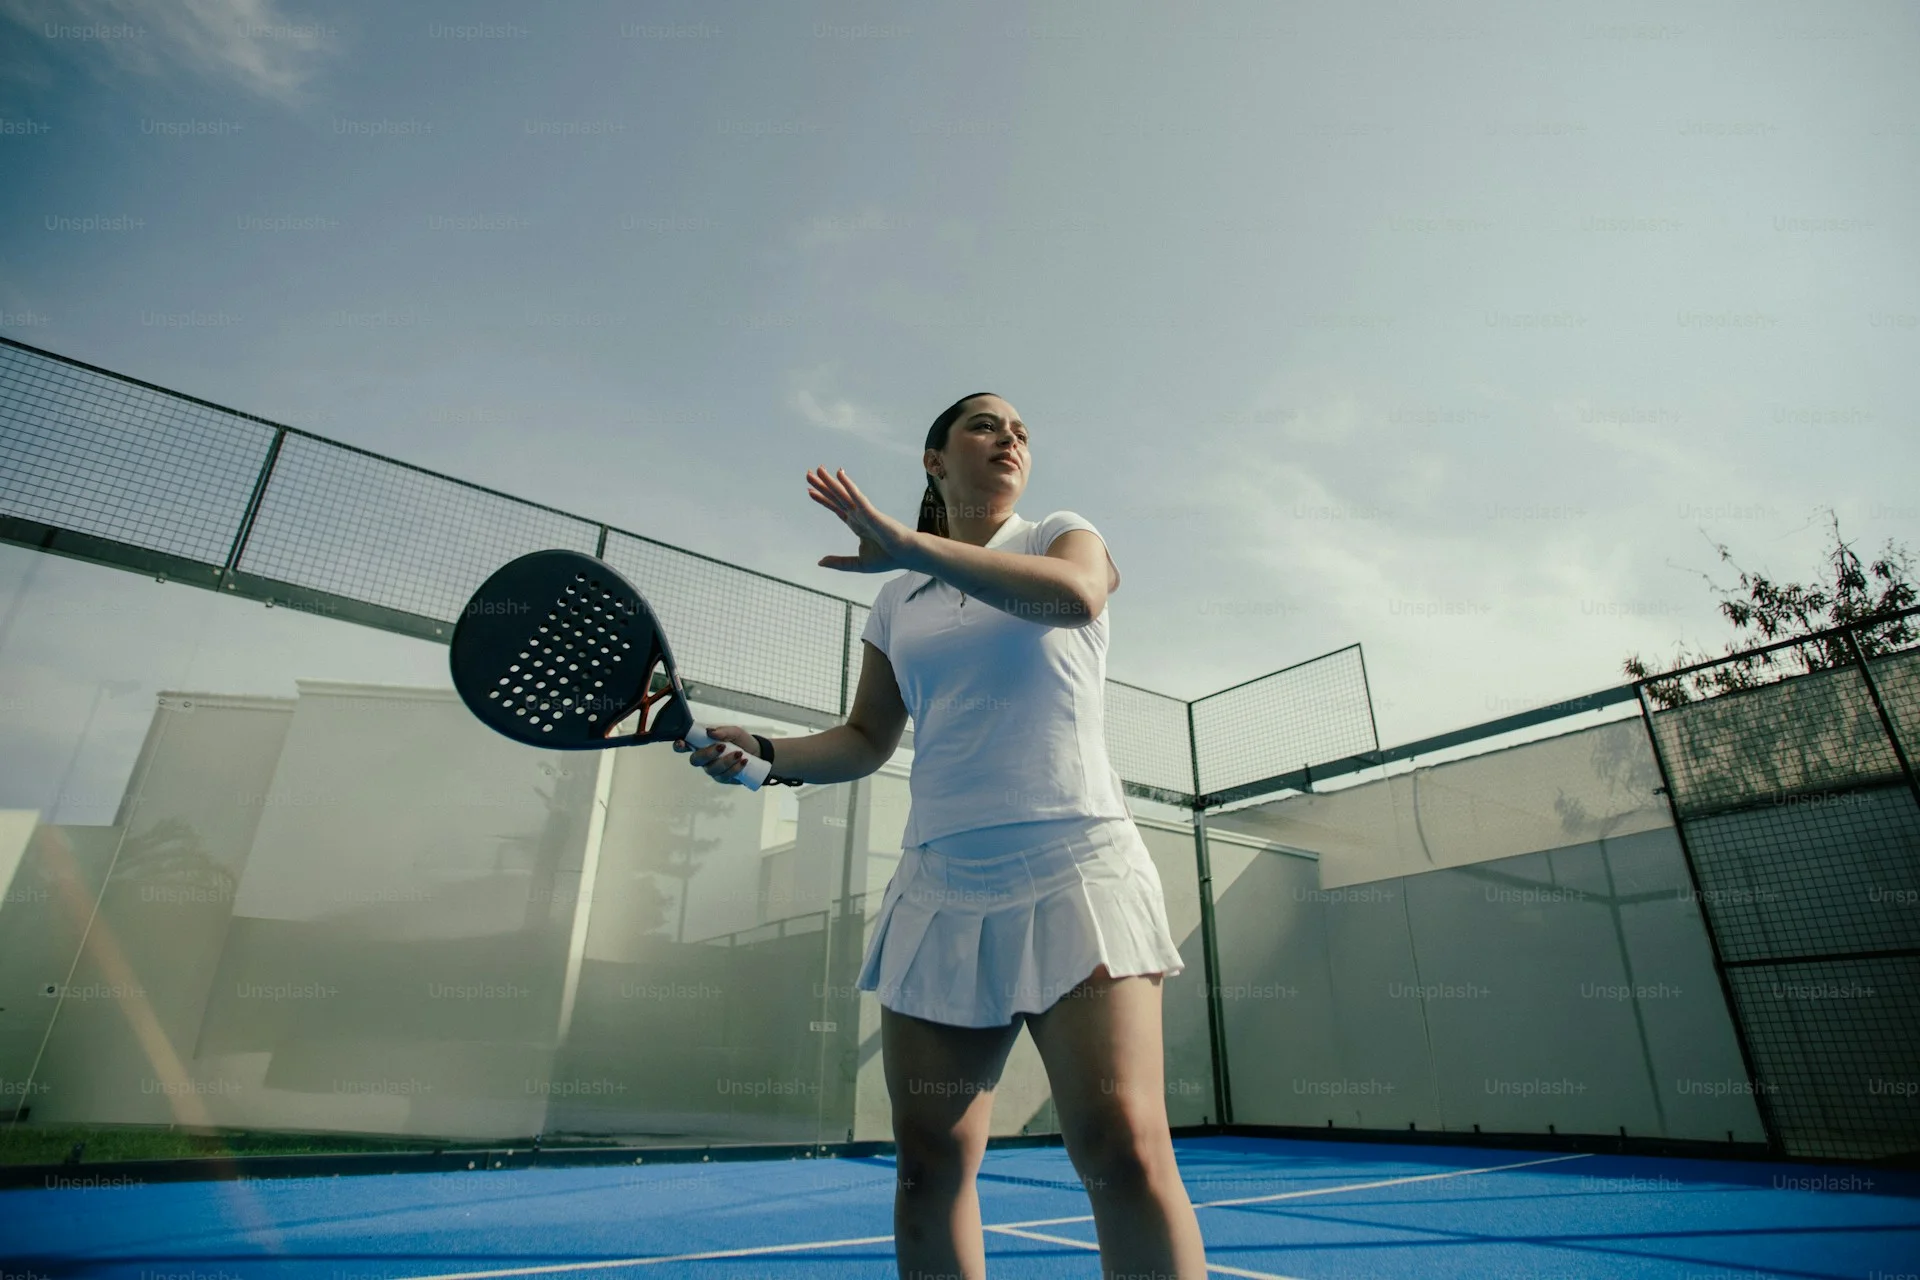
Photo: A. C. / UnsplashPhoto: A. C. / Unsplash / Unsplash License
Why Your Grip Matters
Your grip is the connection point between you and the racket. How you hold the racket determines the angle of the hitting surface, your degree of ball control, and the range of shots available to you. An incorrect grip limits your technical capabilities and can lead to wrist injuries.
In padel, unlike tennis, transitions between shots happen faster due to the compact court. This makes a versatile grip especially valuable — it allows you to react to the ball without unnecessary racket adjustments. Most professional players use the continental grip as their default and only switch to others for specific shots.
Main Grips
Continental Grip
The continental grip is the most important and versatile grip in padel. It is used for the vast majority of shots: volleys, bandeja, vibora, smash, and serve.
How to find the continental grip:
There are two simple methods:
The hammer method. Hold the racket as if you were hammering a nail. The edge of the racket should face downward, with your palm on the top bevel of the handle.
The handshake method. Reach out to the racket standing vertically on its edge and “shake hands” with it. This natural hand position is the continental grip.
With the continental grip, the base knuckle of your index finger (the V-shaped area between thumb and index finger) sits on the top bevel of the handle. The racket rests in your fingers, not clenched deep in your palm.
[EXPERT OPINION] If you are just starting to play padel, master the continental grip first. It will cover 70–80% of game situations, and in the beginning, you can get by using it alone.
The eastern forehand grip is used for forehand groundstrokes — drives and forehands from the baseline. It provides a flatter racket face, which delivers more power on shots from the back of the court.
How to find the eastern forehand grip:
From the continental grip, rotate the racket a quarter turn clockwise (for right-handers). The base knuckle of your index finger shifts to the right bevel of the handle. Your palm ends up nearly parallel to the racket’s hitting surface.
Used for:
Forehand drive
Forehand groundstrokes with maximum power
Attacking shots from the back of the court
Semi-Western Grip
The semi-western grip is an advanced grip for players seeking to add more spin to their arsenal. The racket is rotated even further than the eastern grip, and the hitting surface tilts more significantly.
How to find the semi-western grip:
From the eastern grip, make another quarter turn. The base knuckle of your index finger moves to the bottom bevel of the handle. Your wrist will be in a more closed position.
Used for:
Heavy topspin shots
Passing shots with a high ball
Defensive baseline shots requiring a high trajectory
[EXPERT OPINION] The semi-western grip requires significantly more wrist mobility. Beginners are advised to first master the continental and eastern grips confidently before experimenting with the semi-western.
Grip Changes During Rallies
In real match play, you will need to change grips between shots. This is one of the most challenging skills for beginners, but it becomes automatic with practice.
Principles of grip changes:
Relaxed hand between shots. Slightly loosen your grip between shots — this allows faster grip changes. Many professionals “roll” the racket in their fingers between rallies.
Non-dominant hand assists. Keep your non-dominant hand on the throat or frame of the racket — it helps control rotation and stabilizes the racket during grip changes.
Do not change grip for volleys. At the net, stay in the continental grip. There simply is not enough time for grip changes during fast net exchanges.
Only change grip when retreating. Switching to the eastern or semi-western grip is justified for baseline shots when you have more time to prepare.
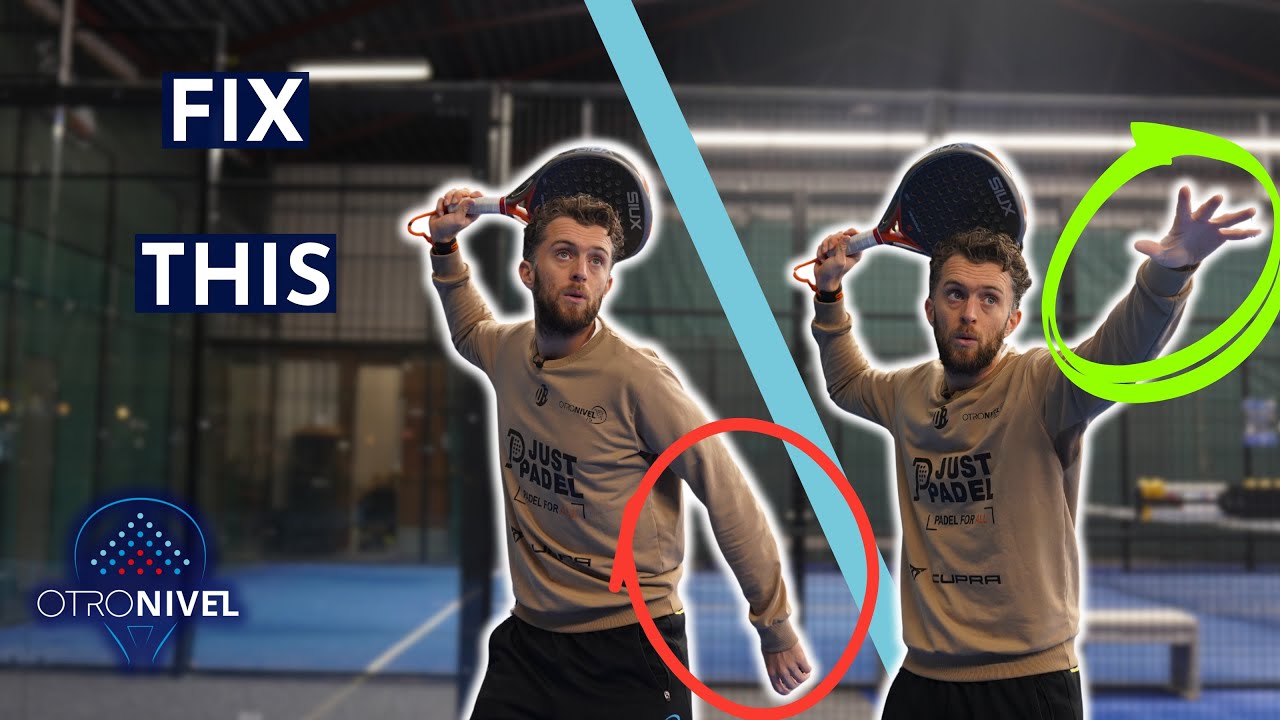
Video Tutorial
7 technical padel basics almost everyone gets wrong, including grip: analysis by Otro Nivel Padel
Common Mistakes
Gripping the racket too tightly. Hold the racket firmly but not white-knuckled. Pressure scale: 4–5 out of 10 between shots, 7–8 at the moment of contact.
Tennis grip for volleys. Players coming from tennis often use the eastern grip for volleys. In padel, this prevents effective backhand volleys without a grip change.
Palm grip. The racket should rest in your fingers, not be clenched in your fist. A finger grip provides better control and feel.
Ignoring the backhand. Many beginners use the same grip for forehand and backhand. The continental grip works well for both sides, but the eastern grip is forehand-only.
Exercises
The hammer. Hold the racket with a continental grip and “hammer nails” into the wall, making light contact with the racket’s edge. This builds muscle memory for the correct hand position.
Wall rally count. Stand 2 meters from a wall and volley the ball, counting consecutive hits. Goal: 50 shots without losing the ball. Use only the continental grip.
Grip change on the move. Move along the back wall, alternating between forehand (eastern grip) and backhand (continental). A partner feeds balls alternately to each side.
Pressure control. Bounce the ball on the ground with your racket, consciously varying grip pressure: soft, medium, firm. Feel the difference in control.
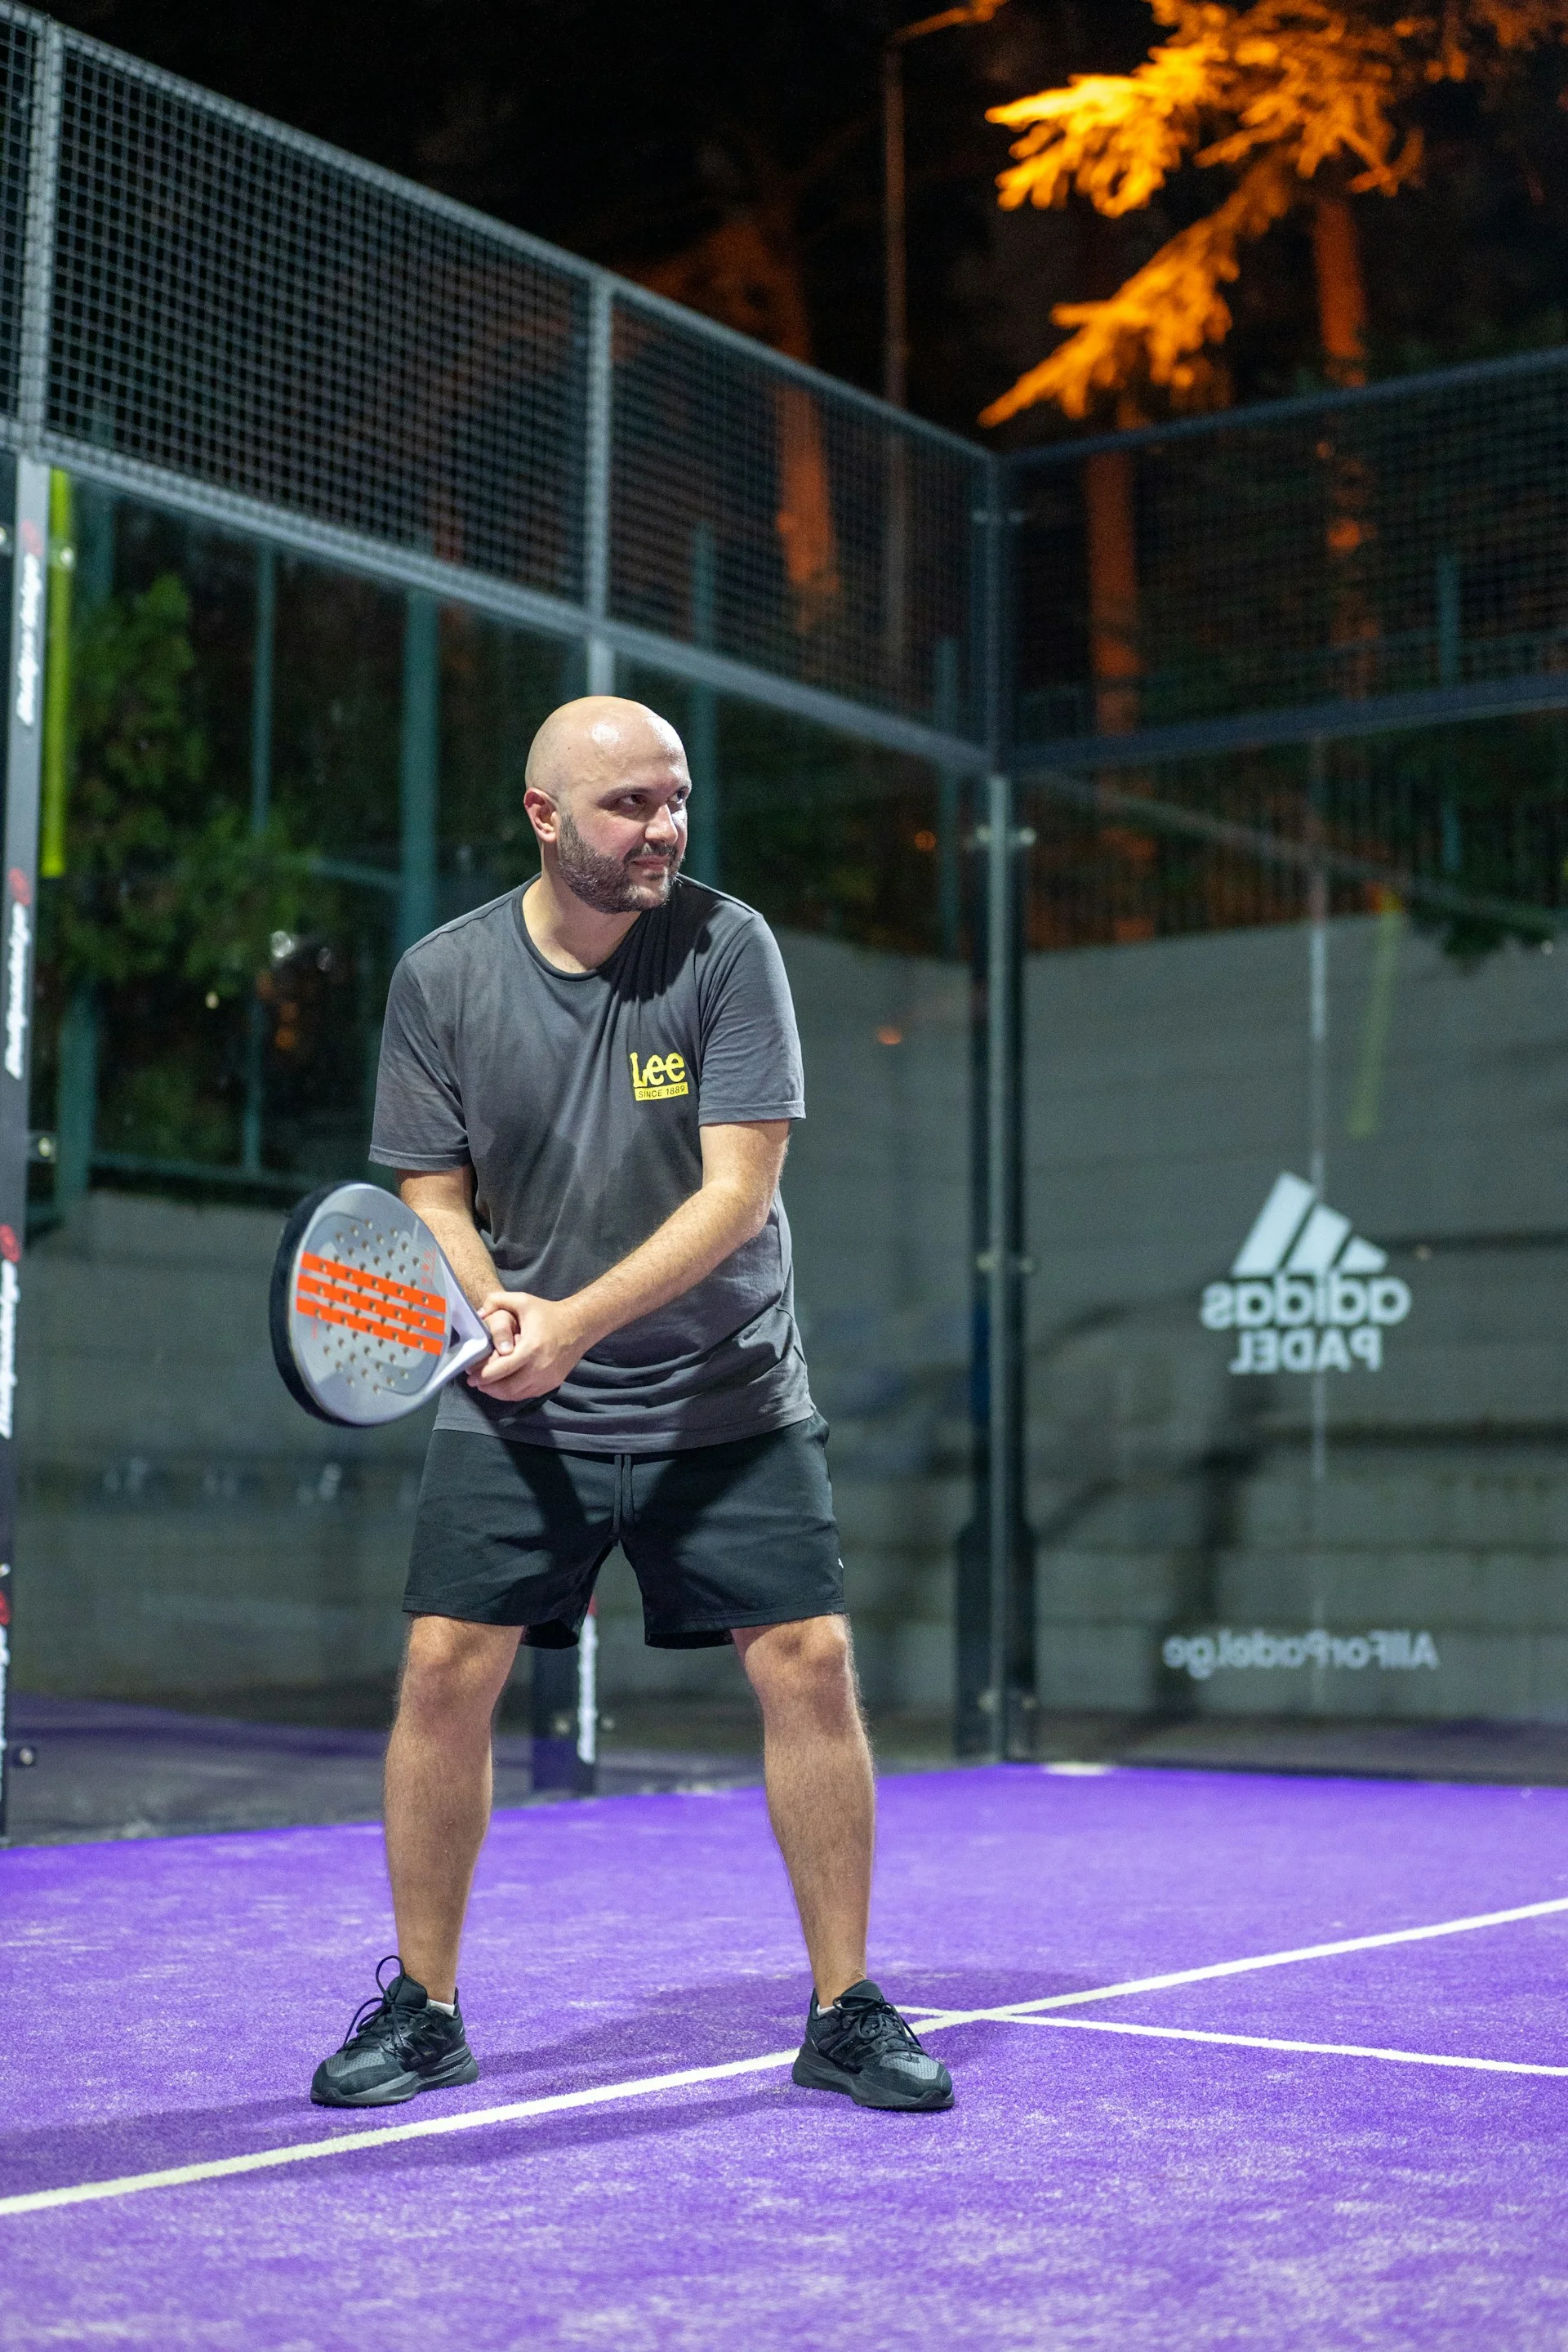
Footwork is the invisible foundation of every shot in padel. Good movement allows you to always reach the right spot on court and execute shots from an optimal position.
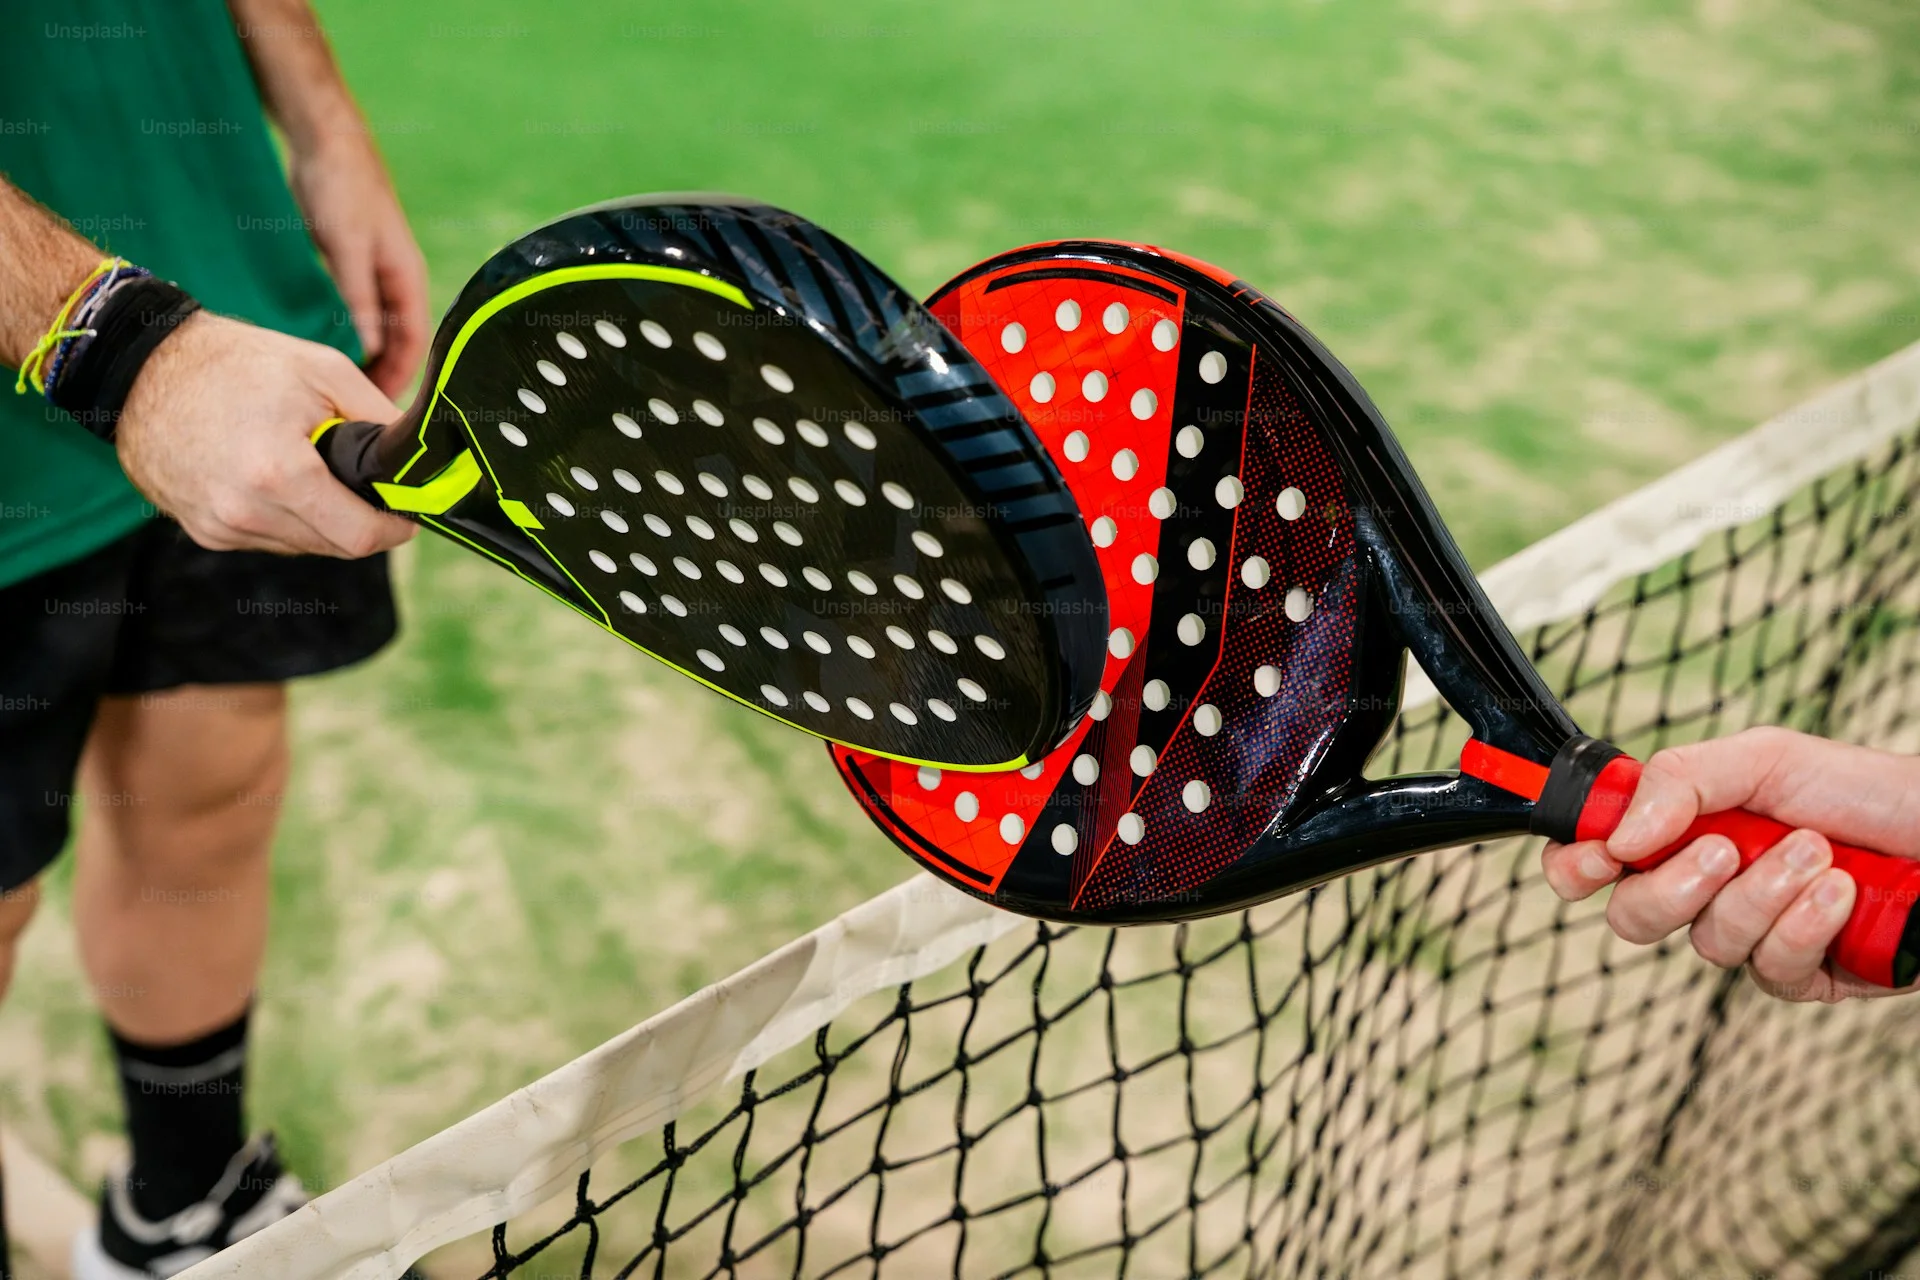
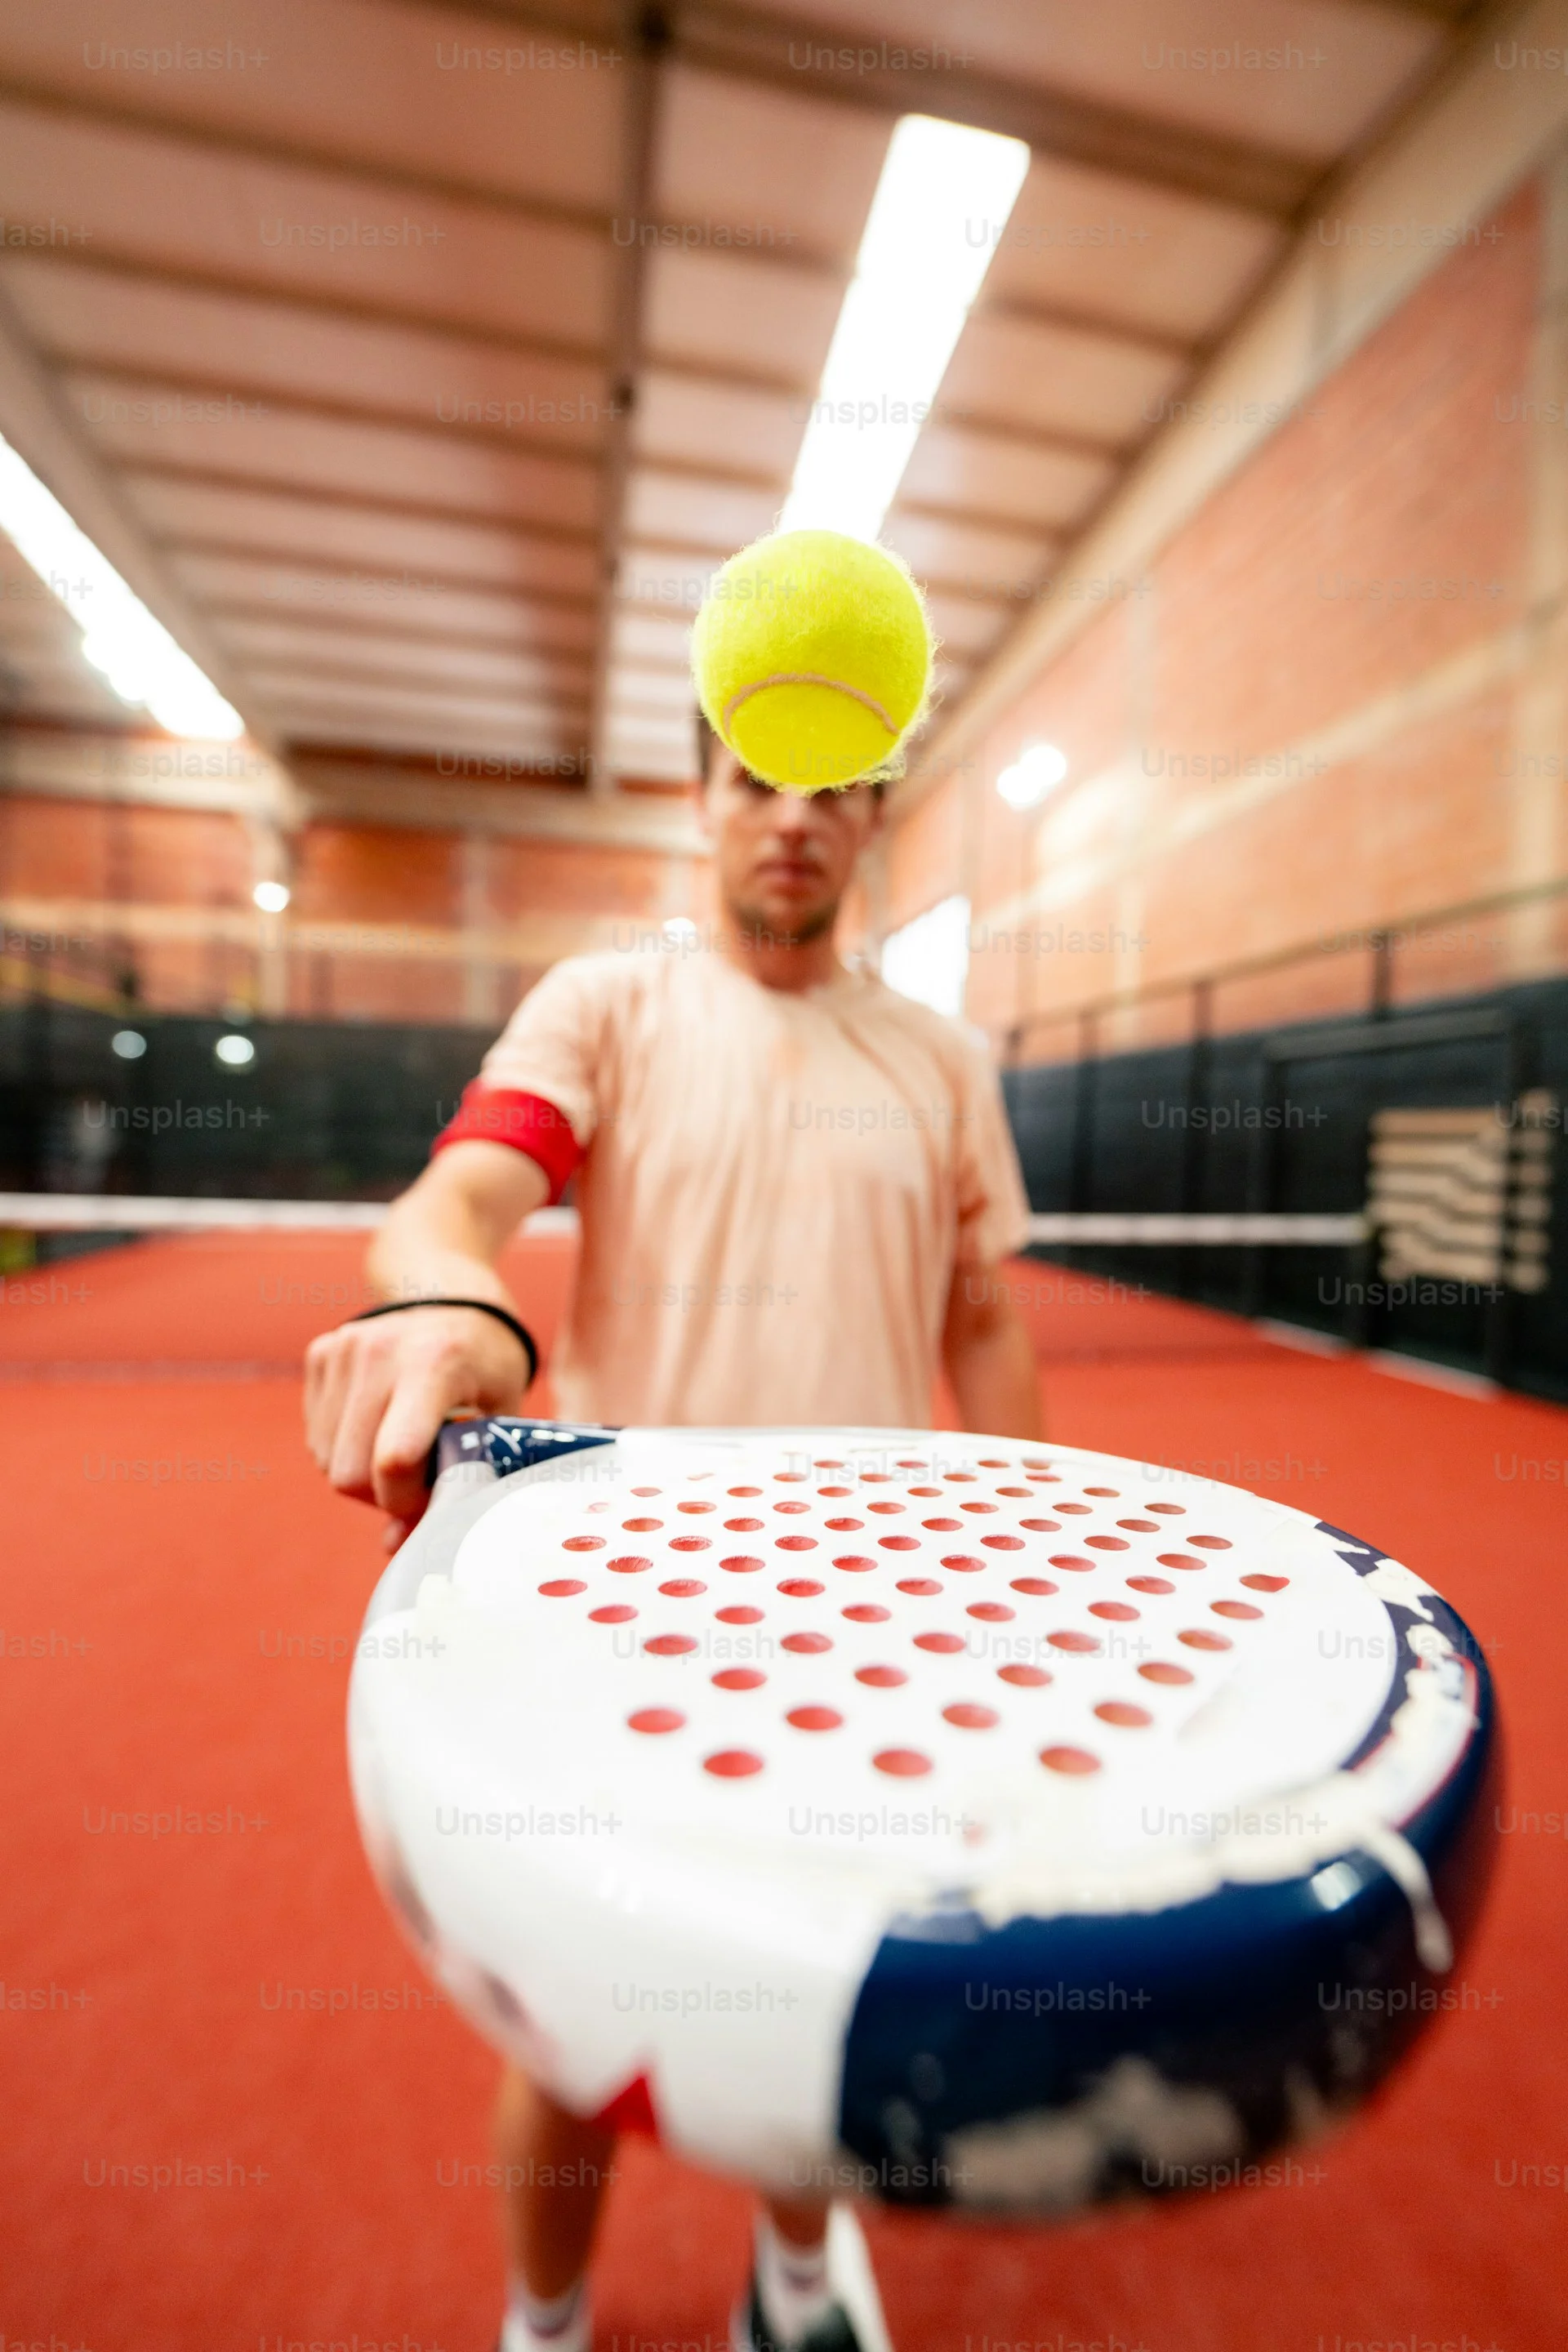
Photo: Artur Kornakov / UnsplashPhoto: Artur Kornakov / Unsplash / Unsplash License
Why Footwork Matters
Padel is a game of positioning, not brute force. Even perfect stroke technique is useless if you have not reached the right position. On a compact 10-by-20-meter court, movements are shorter than in tennis but happen significantly more often and require greater precision.
Good footwork solves several problems simultaneously: you reach the optimal position for each shot, maintain balance during contact with the ball, recover quickly after shots, and control court zones together with your partner. According to coaching estimates, 80% of mistakes made by beginners are related not to hand technique but to incorrect foot positioning.
The Split Step
The split step is the foundational element of readiness — a small hop in place performed before every opponent’s shot. It is the cornerstone of all footwork in padel.
How to execute:
As your opponent begins their swing, make a small jump (literally 3–5 cm off the surface).
Land on both feet simultaneously, on the balls of your feet, with knees slightly bent.
Body weight on the balls of your feet, ready to move in any direction.
The split step activates your leg muscles and allows an instant reaction to the ball’s direction. Without it, you will get “stuck” in place and consistently arrive late to the ball.
[EXPERT OPINION] The split step is a habit that must be built consciously. In the beginning, say “hop” every time your opponent hits the ball and jump simultaneously. After a few training sessions, it will become automatic.
Lateral Movement
Lateral movement is the primary way of getting around in padel. You move with side shuffles along the net or the back wall, staying face-on to your opponent.
Shuffle technique:
Feet shoulder-width apart, knees slightly bent
The first step is taken by the foot closest to the direction of movement
The trailing foot slides to join but never crosses the lead foot
Center of gravity stays low, no “bouncing”
Feet do not lift high off the surface — use sliding steps
Key rule: avoid crossover steps during lateral movement at the net. Crossed feet rob you of balance and the ability to react instantly to a shot. Crossover steps are only acceptable during long runs to the back wall when you need to cover a large distance.
Approaching the Net
Moving forward to the net is one of the most important tactical movements. After a quality shot (a deep lob, an accurate drive), you and your partner should advance forward and take up an attacking position at the net.
How to approach the net correctly:
Hit a quality shot — deep, uncomfortable for your opponent.
Immediately after the shot, begin moving forward.
Move with small steps, ready for a split step.
Execute a split step at the moment your opponent makes contact.
Take up position 2–3 meters from the net.
Move forward together with your partner — you are connected by an “invisible rope.”
A common mistake is approaching the net after a weak shot. If your shot did not put pressure on the opponent, moving forward will backfire: you will be forced to play from an uncomfortable position.
Retreating Backward
Retreating is no less important a skill than moving forward. When opponents hit a deep lob or a high shot, you need to move back to the rear wall quickly.
Retreating technique:
Turn sideways (not with your back!) to the net
Use crossover steps for rapid backward movement
One hand controls the racket, the other helps with balance
Do not run to the ball — move to the point where the ball will be after the bounce
Let the ball bounce off the wall — use wall play to your advantage
[EXPERT OPINION] When retreating, the most common mistake is trying to hit while running with your back to the net. It is better to run past the ball, stop, turn, and hit from a balanced position.
Positioning after retreating:
If you were forced to retreat, settle behind the service line (approximately 1.8–2.5 m from the back wall). This gives you reaction time and space to use the walls. Do not get stuck in “no man’s land” between the service line and the net — this is the most vulnerable position on the court.
Video Tutorial
Padel footwork fundamentals by The Padel School
Common Mistakes
Flat feet. Stand on the balls of your feet, not your heels. Heels on the ground equals slow reaction.
No split step. Without a split step, your first step to the ball will be 0.3–0.5 seconds slower. On a compact court, that is decisive.
Crossing feet at the net. You lose balance and cannot change direction quickly.
Approaching the net alone. If you move up while your partner stays back, a “diagonal gap” forms in your defense. Move together.
Running to the ball instead of the position. Do not chase the ball — move to where the ball will be. This is a fundamental difference in wall sports.
High center of gravity. Straight legs while moving are a sure path to late reactions. Keep your knees slightly bent.
Exercises
Split step on command. A partner stands opposite and claps their hands. On each clap, execute a split step and a first step in a random direction. 3 sets of 20 repetitions.
Shuffles along the net. Stand at the net and shuffle from one side of the court to the other. Do not cross your feet. A partner feeds balls alternately left and right. 5 minutes without rest.
T-drill. Start from the center of the back wall. Sprint forward to the net, touch it, shuffle right, then left, return backward. Repeat 10 times.
Approach and retreat. A partner alternates between short feeds (you approach the net) and deep lobs (you retreat). Focus on smoothness of movement, not speed. 10 minutes.
Shadow practice with racket. Without a ball, simulate a full rally: split step — step right — volley — split step — step left — volley — retreat — wall shot — move forward. 3 sets of 2 minutes.
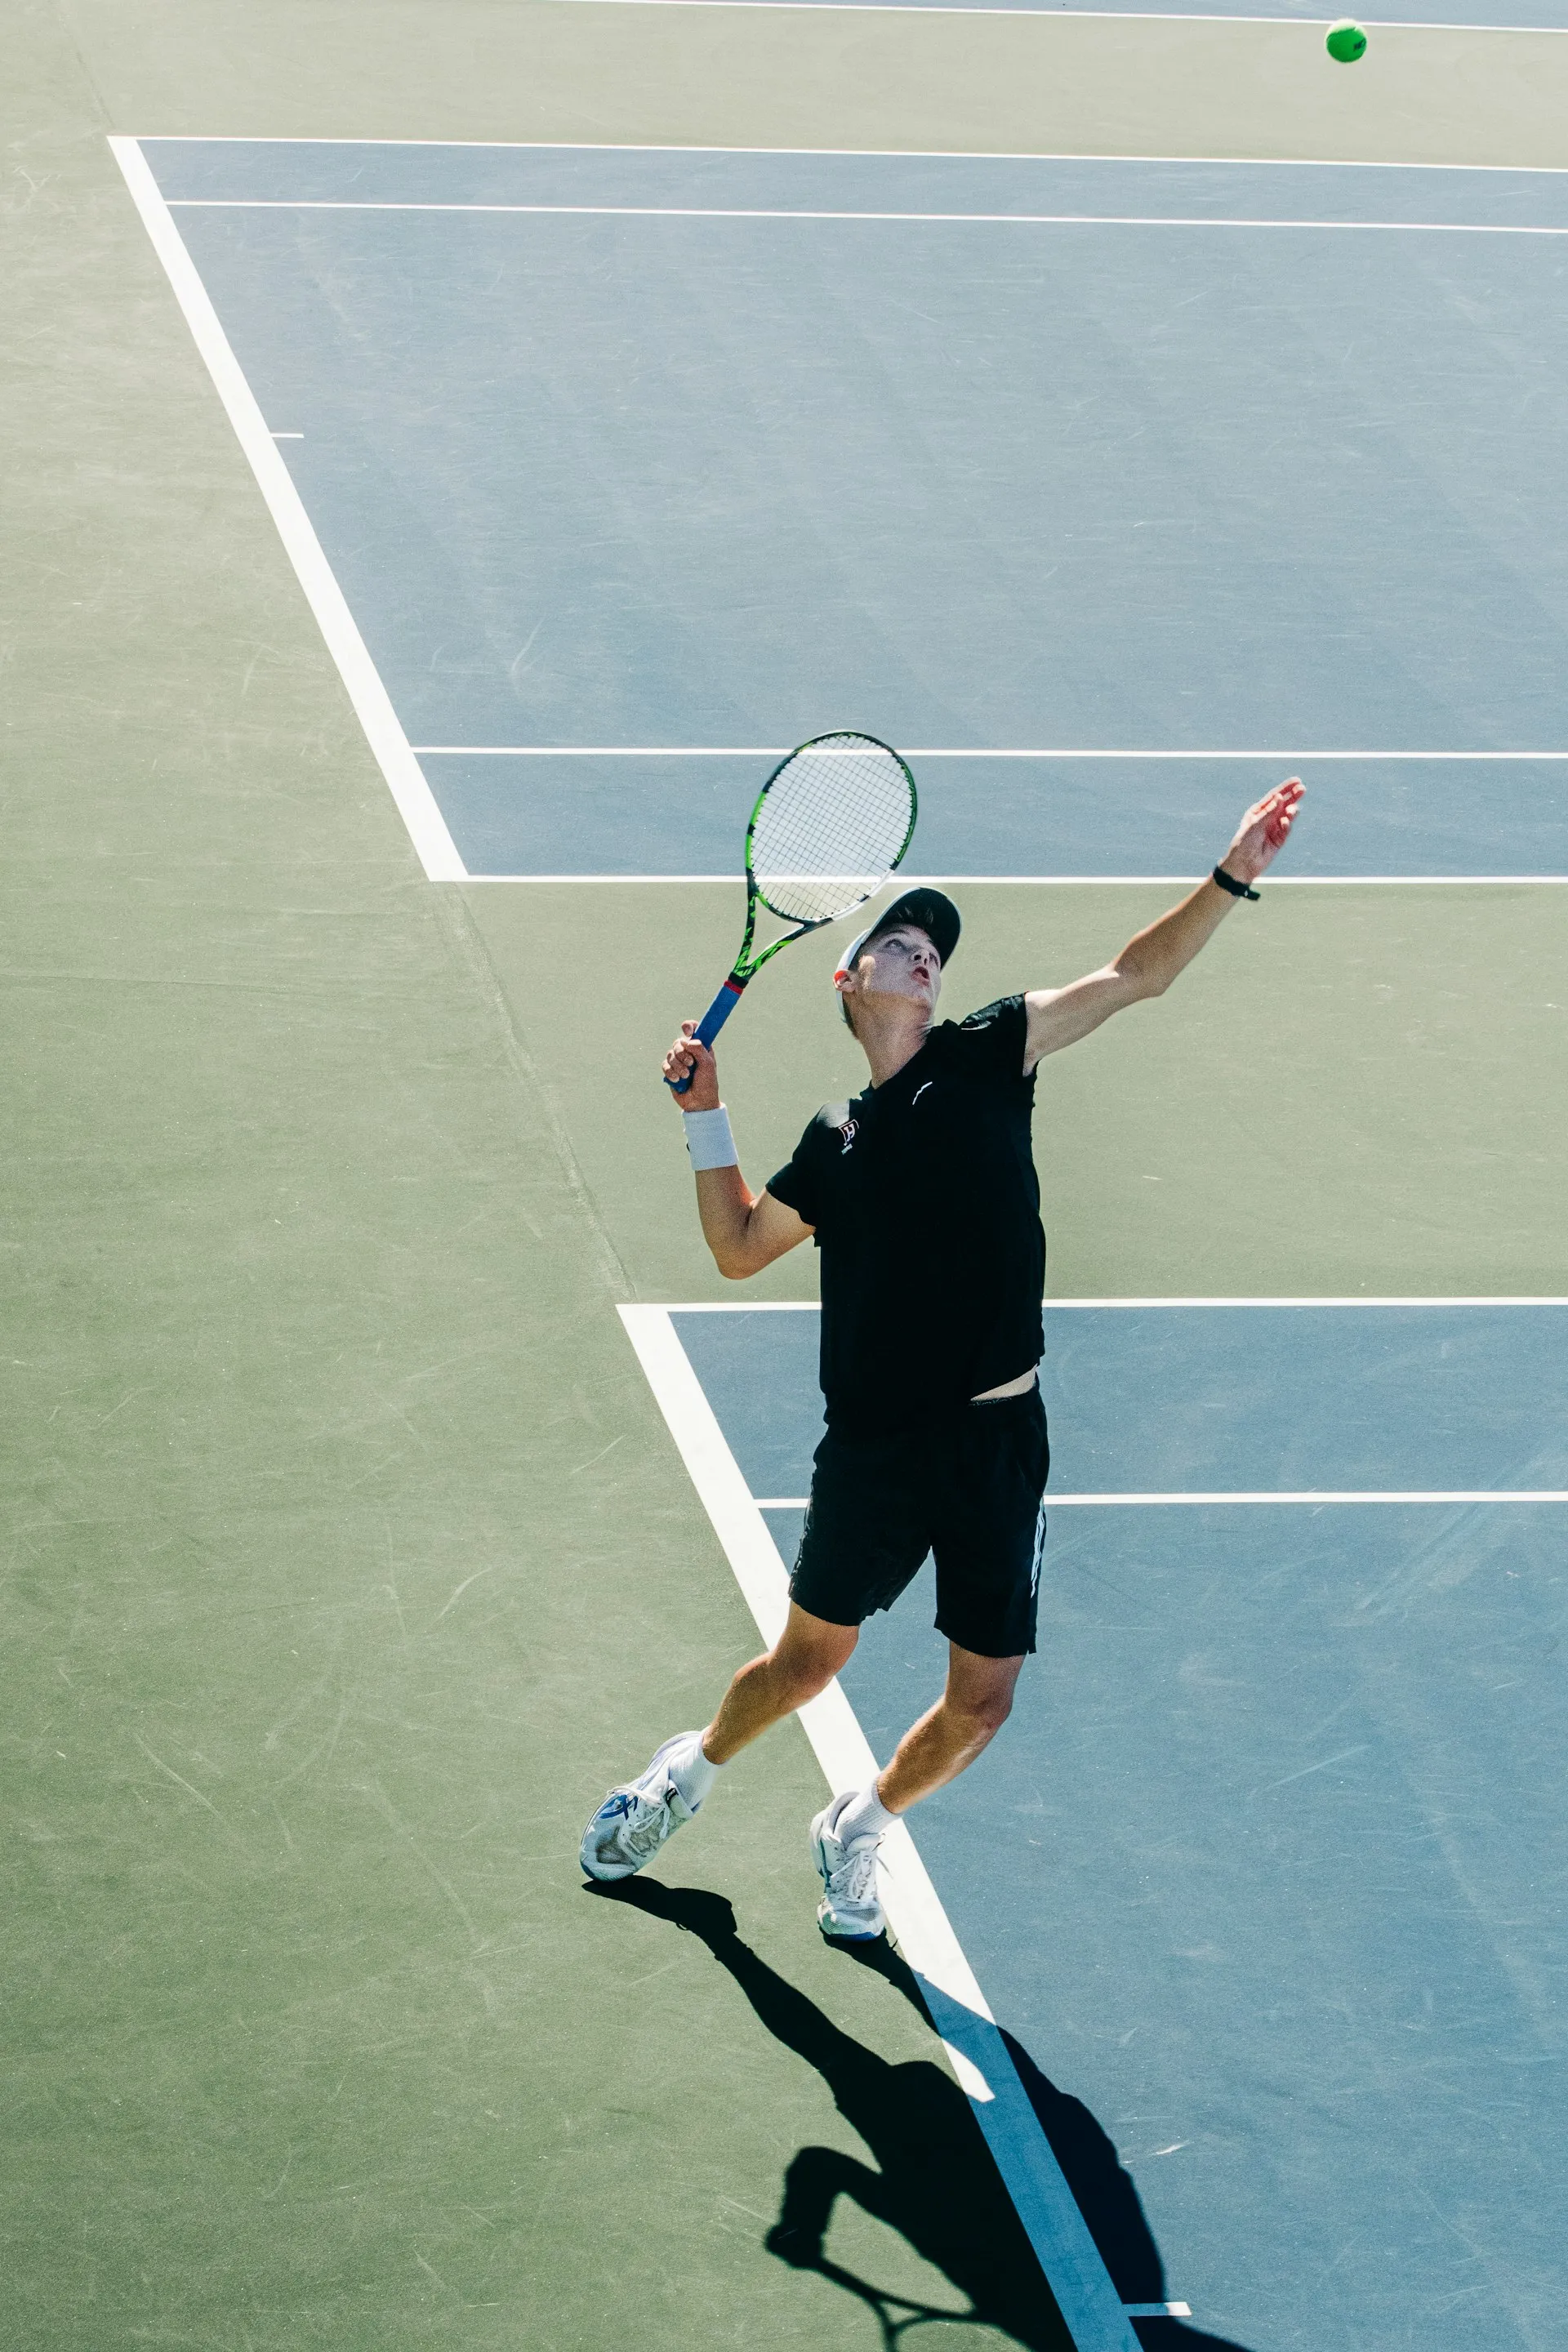
The serve in padel is not a weapon for instant point-winning but a tactical tool that sets the tone for the rally. Mastering different serve types allows you to control the opening of every point and create awkward situations for the opponent.
In tennis, the serve can be a finishing blow — an ace that wins the point outright. In padel, the situation is fundamentally different. According to the rules, the ball must be struck after bouncing off the floor at or below waist height, and the walls behind the receiver allow them to return even a powerful ball. The padel serve is therefore a tactical starter, not a weapon.
A good serve accomplishes three things:
Creates discomfort. Direction, spin, and depth force the opponent into a weak return
Buys time for the net approach. After the serve, both players on the serving team should take up a net position
Sets the rhythm. An aggressive or deceptive serve puts the opponent on the defensive from the very first shot
Flat Serve
The flat serve is the simplest option and a good starting point for learning serve technique.
The ball is dropped at waist level and bounces off the floor
The racket meets the ball with a straight forward motion, with minimal spin
Contact point — slightly in front of the body, at waist level or below
Follow-through — the racket moves forward in the direction of the shot
When to use:
As a second serve when reliability is the priority
Against opponents who read spin well
When the goal is to get the ball in play quickly and move to the net
Characteristics: the ball travels on a predictable trajectory with a straightforward bounce that is comfortable for the receiver. For this reason, the flat serve is rarely used as a primary option at intermediate and advanced levels.
Slice Serve
The slice serve is the dominant serve type in professional padel. [UNVERIFIED] By various estimates, up to 70% of serves at the professional level are hit with slice.
Technique:
Grip: continental
The racket moves under the ball from left to right (for a right-hander), “cutting” across it
Spin: sidespin + underspin
Contact: open racket face; the racket slides across the ball
Follow-through: the racket finishes moving sideways and downward
When to use:
As the primary serve in most situations
Aimed towards the side glass — after the bounce the ball drifts into the wall, creating a difficult return
Effective when serving to the centre and at the body — the spin makes it harder to read the direction
Characteristics: the ball veers sideways after the bounce, often into the glass. The receiver is forced to play from an awkward position or to take the ball after the wall rebound, giving the serving team extra time to reach the net.
Kick Serve / Topspin Serve
The kick serve is a more aggressive option that creates a high bounce and pressures the receiver.
Technique:
Grip: continental
The racket moves from low to high and forward, “brushing up” on the ball
Spin: topspin
Contact: closed racket face; wrist action drives the upward motion
Follow-through: the racket finishes moving up and forward
When to use:
Against shorter opponents — a high bounce above shoulder level creates discomfort
When serving to the second box (ad side) against a right-hander — the ball drifts into the backhand
For variety after a series of slices — the change of spin disrupts the receiver’s timing
Characteristics: requires good technique and wrist work. The ball travels more slowly than a slice but “kicks” off the bounce. The receiver finds it difficult to produce an aggressive return because the ball arrives at an uncomfortable height.
Body Serve
The body serve is not a separate spin type but a tactical direction. The ball is aimed directly at the receiver’s body, into the zone between the forehand and backhand.
Technique:
Any spin type: slice, flat, kick
Target: the ball arrives at the receiver’s hip or stomach area
Direction: straight at the body, preventing the opponent from committing to a shot
Especially effective with slice: the ball “sneaks” under the arms
When to use:
Against opponents with slow decision-making
When the opponent is positioned far from the centre — a body serve from the middle causes hesitation
As a tactical variation, alternating with serves to the glass and down the line
Characteristics: the receiver cannot decide quickly enough whether to play forehand or backhand, resulting in a weak or late return. The body serve is particularly effective at crucial moments (break point, set point).
Serve Comparison Table
Characteristic
Flat
Slice
Kick (Topspin)
Body
Spin
Minimal
Sidespin + underspin
Topspin
Any
Speed
High
Medium
Medium-low
Depends on type
Execution difficulty
Low
Medium
High
Medium
Bounce height
Medium
Low
High
Depends on type
Usage (pro level)
~10%
~60–70%
~10–15%
~10–15%
Best situation
Second serve
Primary serve
Into backhand
Crucial moments
Serving Tactics
Serving Zones
The receiver’s court is divided into three target zones:
T-zone (centre) — ball aimed at the centre line, limiting the angle of return
Glass zone — ball aimed at the side glass, creating a difficult rebound (best with slice)
Body zone — ball aimed at the body, causing indecision
Serving Patterns
[EXPERT OPINION] Effective serving is built on unpredictability. Recommended combinations:
3 slices to the glass → 1 flat down the centre — the opponent gets used to the slice and is caught off guard by the straight ball
Kick into the backhand → slice to the glass — the change of spin disrupts timing
2 serves to the glass → body serve — after two “escapes” towards the wall, the body serve catches the receiver off guard
Linking the Serve to the Net Approach
After the serve, your task is to reach the net alongside your partner as quickly as possible. A good serve is one that gives you time for 3–4 steps forward before the opponent’s return.
Video Tutorial
13 tips to serve like a pro by Otro Nivel Padel
Common Mistakes
Serving too hard. In padel, serve speed matters less than placement and spin. A powerful flat serve will bounce off the wall and come back to the opponent at a comfortable height.
Foot fault. Both of the server’s feet must be behind the service line, with at least one foot on the ground at the moment of contact. Stepping on the line means a lost serve.
Predictable pattern. Serving to the same zone with the same spin is a gift to the opponent. Vary both type and direction.
No net approach. A serve without a subsequent move forward loses half its effectiveness. Serve and go to the net.
Neglecting the second serve. The first serve can be aggressive, but the second must be reliable. A double fault is a free point for the opponent.
Ball toss too high. Under the FIP rules, the ball is struck after bouncing off the floor at or below waist level. A toss that is too high makes timing and control more difficult.
The return of serve is the first shot for the receiving pair in a rally. It is a moment when you can seize the initiative, move to the net, and turn the rally in your favour.
When: the serve is not aggressive; you simply need to return the ball
How: flat shot with control, no excess power
Result: ball in play, minimal risk
Attacking Return
When: weak serve; an opportunity to attack
How: deep shot with forward movement
Result: take the net position, apply pressure
Tactics: Lob or Chiquita?
Situation
Lob
Chiquita
Opponents tight to the net
✓ Pushes them back
✗ They will intercept
Opponents have moved back
✗ Ineffective
✓ Ball at their feet
Unsure what to do
✓ Safer
✗ Risk of error
Want to approach the net
Possible
✓ Ideal
Key principle: alternate. If you always lob, opponents will stop approaching the net. If you always play the chiquita, they will be waiting. Unpredictability is your weapon.
The Cardinal Rule of Returning
Keeping the ball in play matters more than shot quality.
An error on the return is a gifted point. A weak return is better than a beautiful attempt into the net. The serving pair received their serve for free — do not give them the point for free as well.
Common Mistakes
Hitting too hard. Loss of control; the ball rebounds off the opponents’ walls at a comfortable height. Focus on placement.
Standing right against the wall. The ball pins you to the glass with no space. Stand 1 m behind the service line.
Not moving after the return. A return without approaching the net is a missed opportunity. After the shot — move forward.
Trying to “kill” the ball. An aggressive return is the most common cause of errors on the return. Control, not power.
Ignoring your partner. Both players must move to the net in sync. If you advance but your partner stays back, a gap forms.
Always the same shot. If opponents know your return — they are prepared. Alternate lobs, chiquitas, and flat returns.
Drills
Return → net approach. Partner serves, you return with a lob and immediately move to the net. Partner plays a response — you play a volley. 10 rallies.
Lob/chiquita alternation. Partner serves. Return even-numbered serves with a lob, odd-numbered with a chiquita. Goal: confident switching between shots.
Return to target. Place a cone on the opponent’s baseline (for lobs) and 2 m behind the net (for chiquitas). Goal: 6 out of 10 balls within 1 m of the target.
Match-play rallies. 2 vs 2, focus on the return: the receiving pair counts how many rallies they win after returning. Goal: win 40%+ of rallies on return.
The volley is a shot struck before the ball bounces on the floor, typically played at the net. It is one of the most important and frequently used shots in padel, determining rally control and court dominance.
A volley is a shot that makes contact with the ball before it touches the floor. It is most commonly played from the net position, when a pair controls the front zone of the court. Unlike tennis, where the volley is just one of many tools, in padel it is the foundation of the game: the pair holding the net position has a significant advantage in the rally.
The volley is used in the following situations:
Applying pressure from the net. When you and your partner have taken the forward position and intercept balls before the bounce.
Responding to low shots. When the opponent sends the ball at waist height or below.
Finishing the rally. A precise volley into an open space or at the opponent’s feet often wins the point.
Return after serve. The serve in padel is relatively slow, and the returner can frequently play a volley after the ball bounces off the back wall.
Ready Position
Correct preparation for the volley starts with the ready position:
Grip: continental. It allows you to play both forehand and backhand volleys without switching grips. Imagine holding the racket like a hammer.
Racket: in front of you at chest height, the head of the racket slightly above the wrist. Both hands on the racket (one on the handle, the other supporting the throat).
Feet: shoulder-width apart, knees slightly bent, weight on the balls of the feet. Ready for a split-step before each opponent’s shot.
Body: leaning slightly forward, eyes tracking the ball.
Distance from the net: 1.5–2 metres. Closer and you risk being lobbed; further back and you lose pressure.
Forehand Volley
Forehand volley technique (right side for right-handers):
Preparation. From the ready position, perform a split-step. Once you determine the ball is coming to your right, turn your shoulders and take the racket back — short, no further than shoulder level. The backswing is minimal.
Step forward. Step with the left foot (for right-handers) forward and toward the ball. Transferring weight from the back foot to the front adds depth and control to the shot.
Contact. Meet the ball in front of you, at a height between shoulder and waist. The racket face is slightly open — this imparts a small amount of backspin and control. The wrist is firm; the shot is executed with the entire arm moving from the shoulder.
Follow-through. After contact, the racket continues a short motion forward and slightly downward. There is no need for a long follow-through — the volley is a compact, controlled shot.
Recovery. Immediately return the racket to the ready position in front of your chest.
Backhand Volley
Backhand volley technique (left side for right-handers):
Preparation. Split-step, shoulder turn to the left. The supporting hand on the racket throat helps guide the racket back. The backswing is even shorter than on the forehand.
Step forward. The right foot (for right-handers) steps forward to meet the ball. The body remains sideways to the net.
Contact. The contact point is in front of you, slightly to the left of the body’s centre. The racket face is slightly open. On the backhand, wrist firmness is especially critical — any “collapse” leads to loss of control.
Follow-through. A short motion forward. Do not rotate the body through — the backhand volley is executed with a compact, blocking motion.
Recovery. The racket returns to the position in front of the chest.
Parameter
Forehand Volley
Backhand Volley
Step forward
Left foot (right-hander)
Right foot (right-hander)
Backswing length
Short
Very short
Contact point
In front, right side
In front, left side
Typical difficulty
Moderate
Higher (weaker side for most players)
Slice Volley
The slice volley is a variation with pronounced backspin. It is used to control the pace of the rally and make the opponent’s attack more difficult.
Differences from the basic volley:
Racket path: high to low and forward, with the racket edge “cutting” under the ball.
Racket angle: more open, to create backspin.
Result: the ball stays low after the bounce, “sticks” to the floor, and does not rise into the opponent’s comfort zone.
When to use: when responding to low balls, to slow the rally down, or for a drop volley that lands just behind the net.
[EXPERT OPINION] The slice volley is the primary volley type in professional padel. Flat volleys are used far less frequently, as backspin provides better control and makes it harder for opponents to counter-attack.
Depth and Direction
Where to direct the volley is just as important as how to execute it. Key tactical principles:
Deep volley toward the back wall. The primary target: at the opponent’s feet or deep toward the back wall. This forces the opponent to play from an uncomfortable position and keeps them on the defensive.
Volley down the middle. A shot between the two opponents creates confusion over who should take the ball.
Drop volley. A soft volley just over the net when opponents are far from it. Requires excellent touch.
Volley into the side wall. A ball that hits the glass after bouncing off the floor creates a difficult-to-read rebound.
Drills
Volley-volley at the net. Two players stand on opposite sides of the net, 2–3 metres apart, exchanging volleys. Target: 30 shots in a row without an error. Start slowly and gradually increase the pace.
Forehand/backhand alternation. A partner feeds balls alternately to the right and left side. You respond with volleys, aiming at a designated zone. Series of 20 balls, then switch roles.
Volley with approach. Start from the service line and take a step toward the net with each volley. This develops the skill of approaching the net while maintaining ball control.
Volley under pressure (2 vs 1). Two players at the back wall send balls to one player at the net. The net player responds with volleys, choosing direction. The drill develops reaction speed and decision-making.
Video Tutorial
8 do's and don'ts for padel volleys by Otro Nivel Padel
Common Mistakes
Backswing too long. The volley is not a groundstroke. A long backswing costs time and reduces control. The racket should “wait” for the ball in front of you, not swing back as if preparing a baseline drive.
Contact point behind the body. If the contact point ends up beside or behind the body, the shot loses power and accuracy. Always strive to meet the ball in front of you.
Loose wrist. During a volley, the wrist must be firm. A “soft” wrist causes the racket face to collapse on contact, sending the ball in unpredictable directions.
Dropping the racket between shots. Between volleys, the racket should remain at chest height. If it drops to waist level or below, you will not have time to prepare for the next ball.
Standing still. The volley demands constant movement: split-step, step toward the ball, recovery. A static position at the net makes you an easy target for a lob.
The backhand is the weakest shot for most padel players. Statistically, the backhand volley produces 17.6% of unforced errors — more than any other shot. But it can be improved.
In padel, most balls travel through the centre of the court. If you play the right side, the backhand is your primary shot. Even on the left side, you need the backhand for defence and wall play.
Losing pairs commit more unforced errors on the backhand than any other shot (PMC, 2024).
Flat Backhand
When to Use
Ball below waist level — hit it flat.
Technique
Rotate your body — turn your shoulders and take the racket back
Bend knees and elbow — the elbow bend gives wrist flexibility
Lead with the elbow — the motion starts from the elbow, not the wrist
Contact point — slightly in front of the rear hip (right hip for right-handers)
Follow-through — the racket continues forward after contact
The Main Mistake
Hitting with the arm alone, without body rotation. The body = power and control.
Slice Backhand
When to Use
Ball above waist level — use slice. A cross-court slice against the side glass produces low, skidding rebounds.
Technique
Grip — towards an Eastern backhand grip
High preparation — the racket starts above the ball
Open racket face — slightly open for the undercut
High-to-low swing — think “sweep the crumbs off the table,” NOT “chop a log”
Brush under the ball — the racket passes under the ball, creating backspin
Backhand Volley
Technique
Continental grip — allows instant switching between forehand and backhand volleys
Short preparation — minimal backswing, focus on the contact point
Racket angle ~45° — knuckles slightly upward
Step forward — the front foot steps towards the ball on contact
Relaxed wrist — for angle control
Common Mistakes
No body rotation. Hitting with the arm only, without the shoulders, costs power and control.
Wrist bends on contact. The wrist must stay stable. Always.
Wrong contact point. Too far in front or too close to the body. Optimal: slightly ahead of the hip.
Not using the non-dominant hand. The left hand (for right-handers) should assist in the body turn and preparation.
Hitting early out of discomfort. Beginners strike the ball too early because they feel uneasy — this robs the shot of power.
Drills
Cross-court backhands. Both partners hit backhands only, diagonally. Goal: 10 consecutive balls without an error.
Alternating at the wall. Standing 3 metres from the wall, alternate forehand and backhand. 5 minutes non-stop.
Backhand only. Partner feeds all balls to the backhand. 3 sets of 15 balls, focusing on technique.
Rapid-fire volleys. Partner feeds balls alternately to the forehand and backhand at the net. Goal: smooth switching.
Backhand off the back wall. Partner hits balls into the back wall; you play the backhand after the rebound. 10 balls.
The bandeja is a defensive overhead shot in padel, played when retreating from the net. It allows players to neutralize opponents’ lobs while maintaining their net position without excessive aggression.
The bandeja is one of the most frequently used overhead shots in padel. It is applied when opponents hit a medium-height, medium-depth lob (globo) and you are positioned at the net or in the transition zone between the net and the service line.
Key situations for the bandeja:
Answering a medium-height lob. The ball is high enough to hit overhead but not deep or high enough for a full smash.
Maintaining net position. Unlike the smash, the bandeja does not require a full swing, allowing you to quickly return to your optimal net position.
Controlling the rally tempo. When the situation does not allow you to finish the point aggressively, the bandeja lets you retain the initiative and continue applying pressure.
[EXPERT OPINION] Professional players use the bandeja far more frequently than the smash. According to coaching estimates, the bandeja-to-smash ratio in an average match can reach 3:1 or even 4:1. This underscores the defensive nature of padel as a sport.
Technique
Grip
The bandeja uses a continental grip — the same grip used for serves, volleys, and most overhead shots in padel. Imagine picking up the racket like a hammer: the V-shaped crease between the thumb and index finger sits on the top edge of the handle.
Proper footwork is the foundation of a successful bandeja:
Shoulder turn. As soon as you identify the ball as a lob, turn sideways to the net. For right-handers, the left shoulder faces the net.
Moving back. Travel toward the ball using shuffle steps or the crossover step (carioca step). Never run backward — it is both dangerous and inefficient.
Hitting position. Position yourself so the ball is slightly in front of and to the side of you, roughly at front-foot level or slightly ahead.
Recovery to the net. Immediately after the shot, move forward to return to your optimal net position.
Swing and Contact
Preparation. Raise the racket behind your head, keeping the elbow at shoulder height. The non-hitting hand points at the ball — this helps track the trajectory and maintain balance.
Contact point. Strike the ball above and in front of your head. The racket face is slightly open (tilted back) to impart slice. The racket moves from high to low and forward, but without a powerful swing.
Slice. Apply backspin and a touch of sidespin to the ball. This slows the ball after the bounce and makes it harder for opponents to attack.
Follow-through. After contact, the racket continues forward and down, but with a shorter motion than a smash. The overall swing amplitude of the bandeja is significantly smaller.
Ball Trajectory
Bandeja Trajectory
The bandeja has a characteristic trajectory that distinguishes it from the smash and the vibora:
High arc. The ball travels along a parabolic path with considerable height.
Deep landing. The aim is to land the ball in the back third of the opponents’ court, close to the back wall.
Low bounce. Thanks to the slice, the ball stays low after bouncing and does not come far off the wall, making the return difficult.
Video Tutorial
Bandeja analysis by The Padel School: breaking down top players' technique
Common Mistakes
Hitting too flat. Without slice, the ball bounces high off the floor and wall, giving opponents a comfortable ball to attack. Always add slice.
Losing net position. Many players stay deep after the bandeja instead of recovering to the net. The bandeja is a shot designed to maintain your dominant position — do not give up this advantage.
Too much power. The bandeja is not an aggressive shot. Trying to hit with maximum force leads to loss of control and accuracy. Focus on ball placement and slice, not power.
Hitting from an awkward position. If the ball has gone too far behind you, do not force a bandeja — switch to another shot (such as a lob) and rebuild your position.
Incorrect contact point. Hitting behind the head or too low reduces control and slice effectiveness. Always strive to meet the ball in front of you.
Bandeja vs Vibora
The bandeja is often confused with the vibora, but there are fundamental differences:
Characteristic
Bandeja
Vibora
Purpose
Defense, control
Attack, pressure
Spin
Backspin (slice)
Sidespin
Trajectory
High arc
Flatter
Wall bounce
Low, “sticks”
Into the side glass
Difficulty
Intermediate
Intermediate-advanced
Drills
Target bandeja. Place cones or targets in the back third of the court. A partner feeds balls overhead, and you hit bandejas aiming at the target zone. Start with sets of 10, aiming for 7+ on target.
Bandeja with recovery. Execute a bandeja, then take 3-4 quick steps toward the net and play a volley. This builds the habit of recovering to the net after every overhead.
Lob-bandeja rally. One player at the back wall hits only lobs; the other at the net responds only with bandejas. Switch roles every 5 minutes.
Depth control. Divide the back section of the court into three zones. Practice bandejas into each zone: short, medium, and deep. This develops distance awareness.
Bandeja under pressure. In a 2v2 game situation, agree to respond to all lobs with bandejas only (no smashes). This forces you to refine your technique under real match conditions.
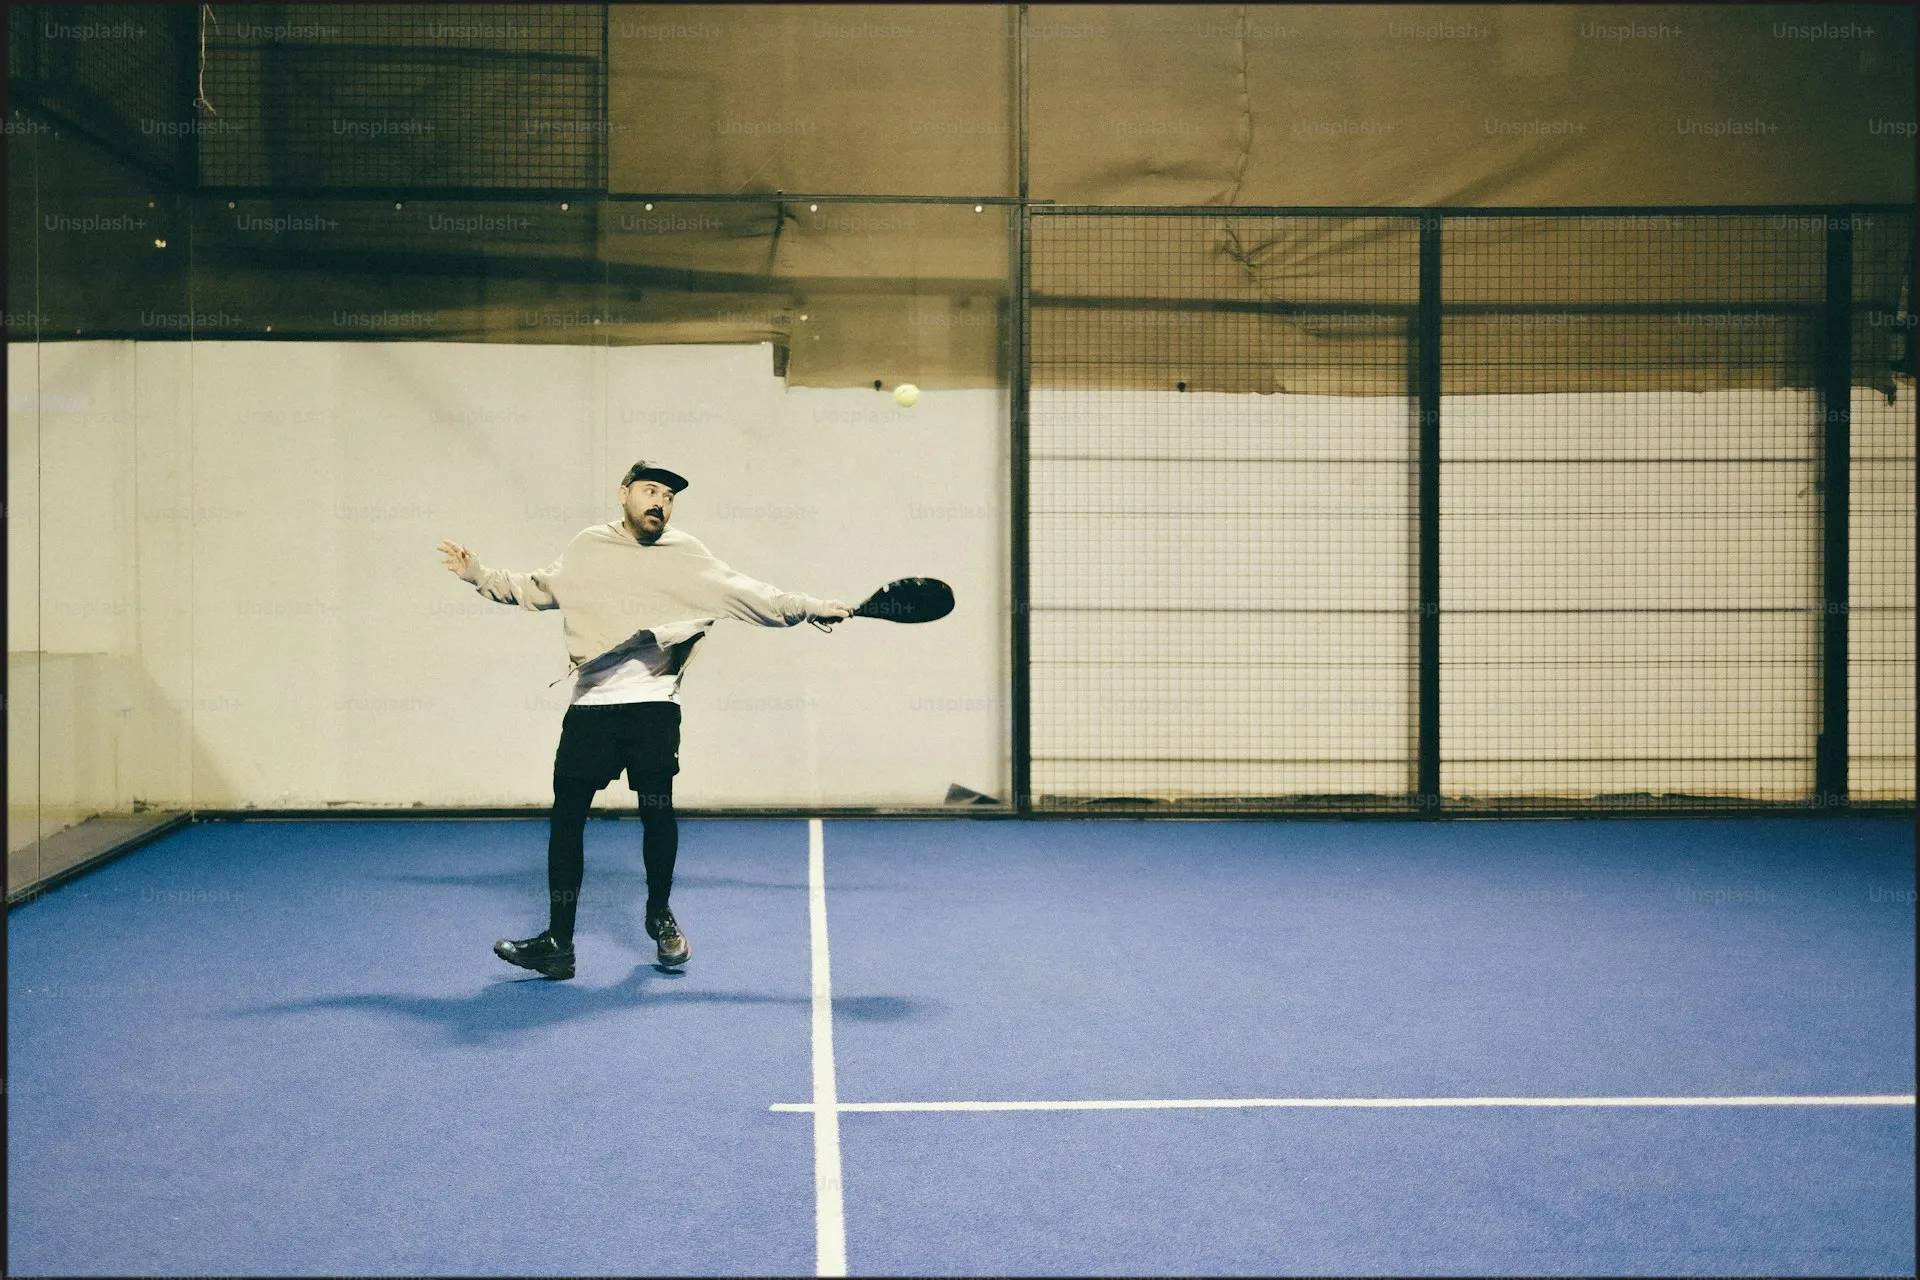
The smash (remate) is the most aggressive overhead shot in padel, designed to win the point outright. It includes several variations: the flat smash, X3 (ball exits via the side wall), and X4 (ball clears the 4-meter back wall).
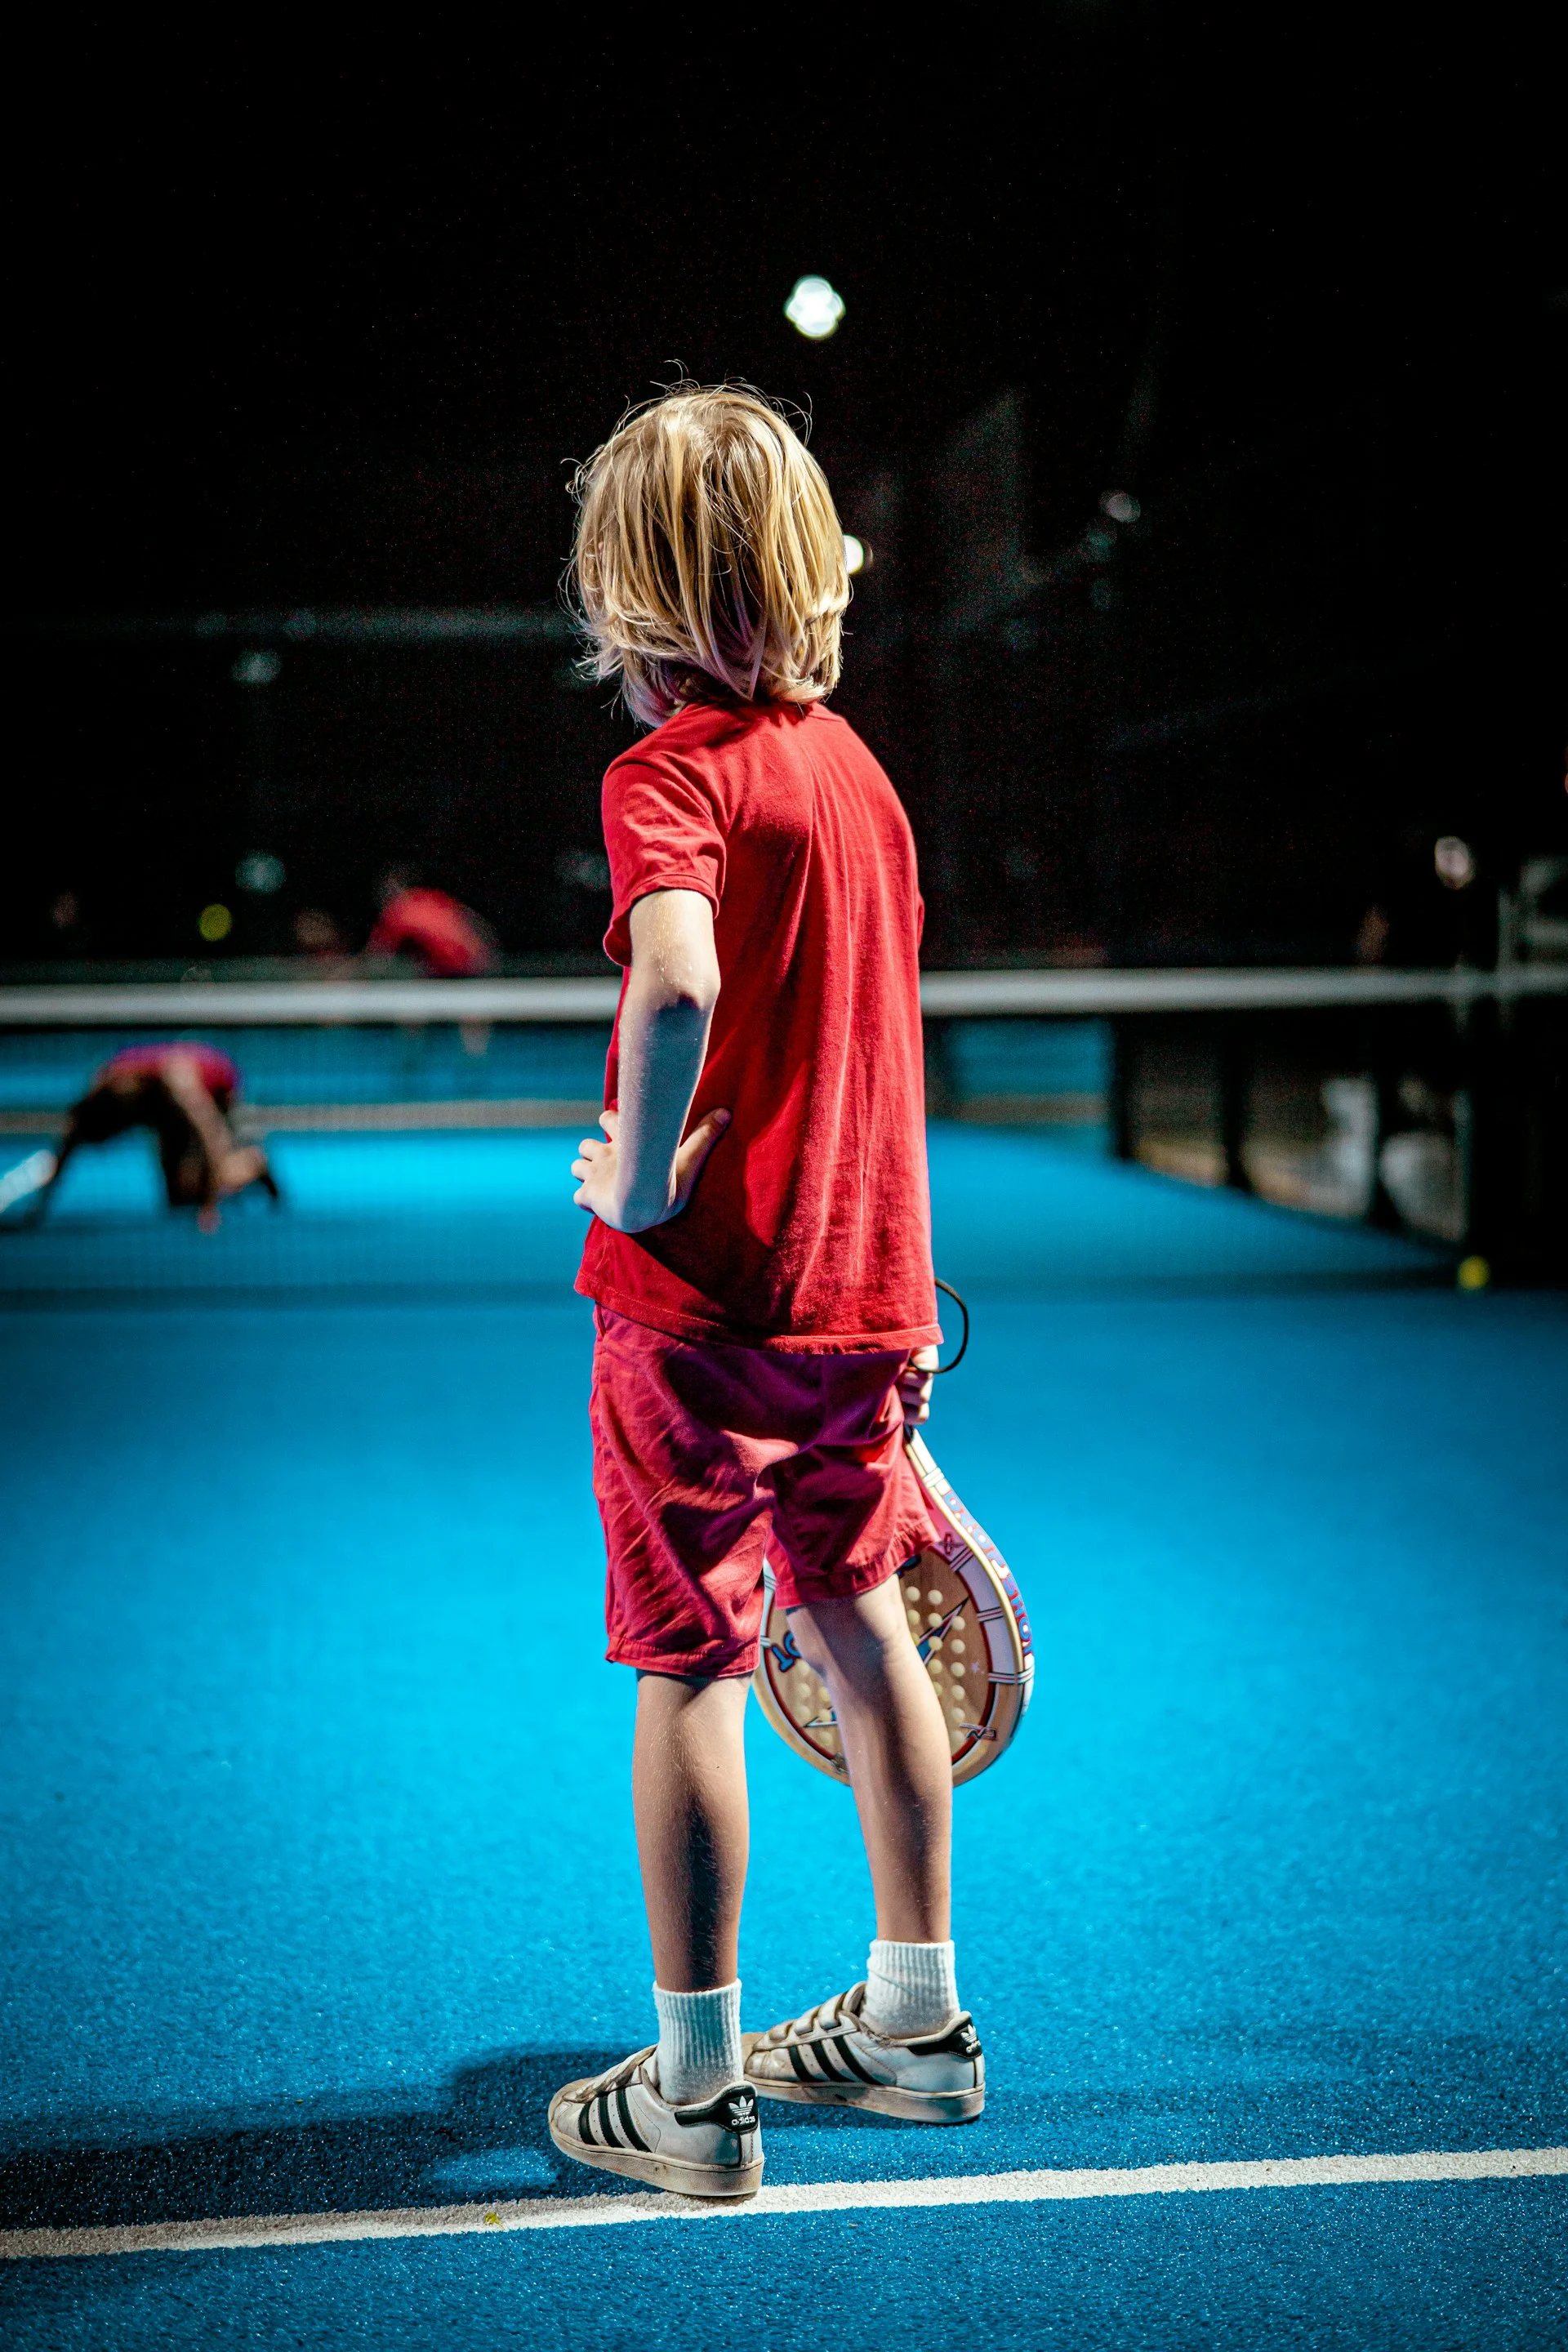
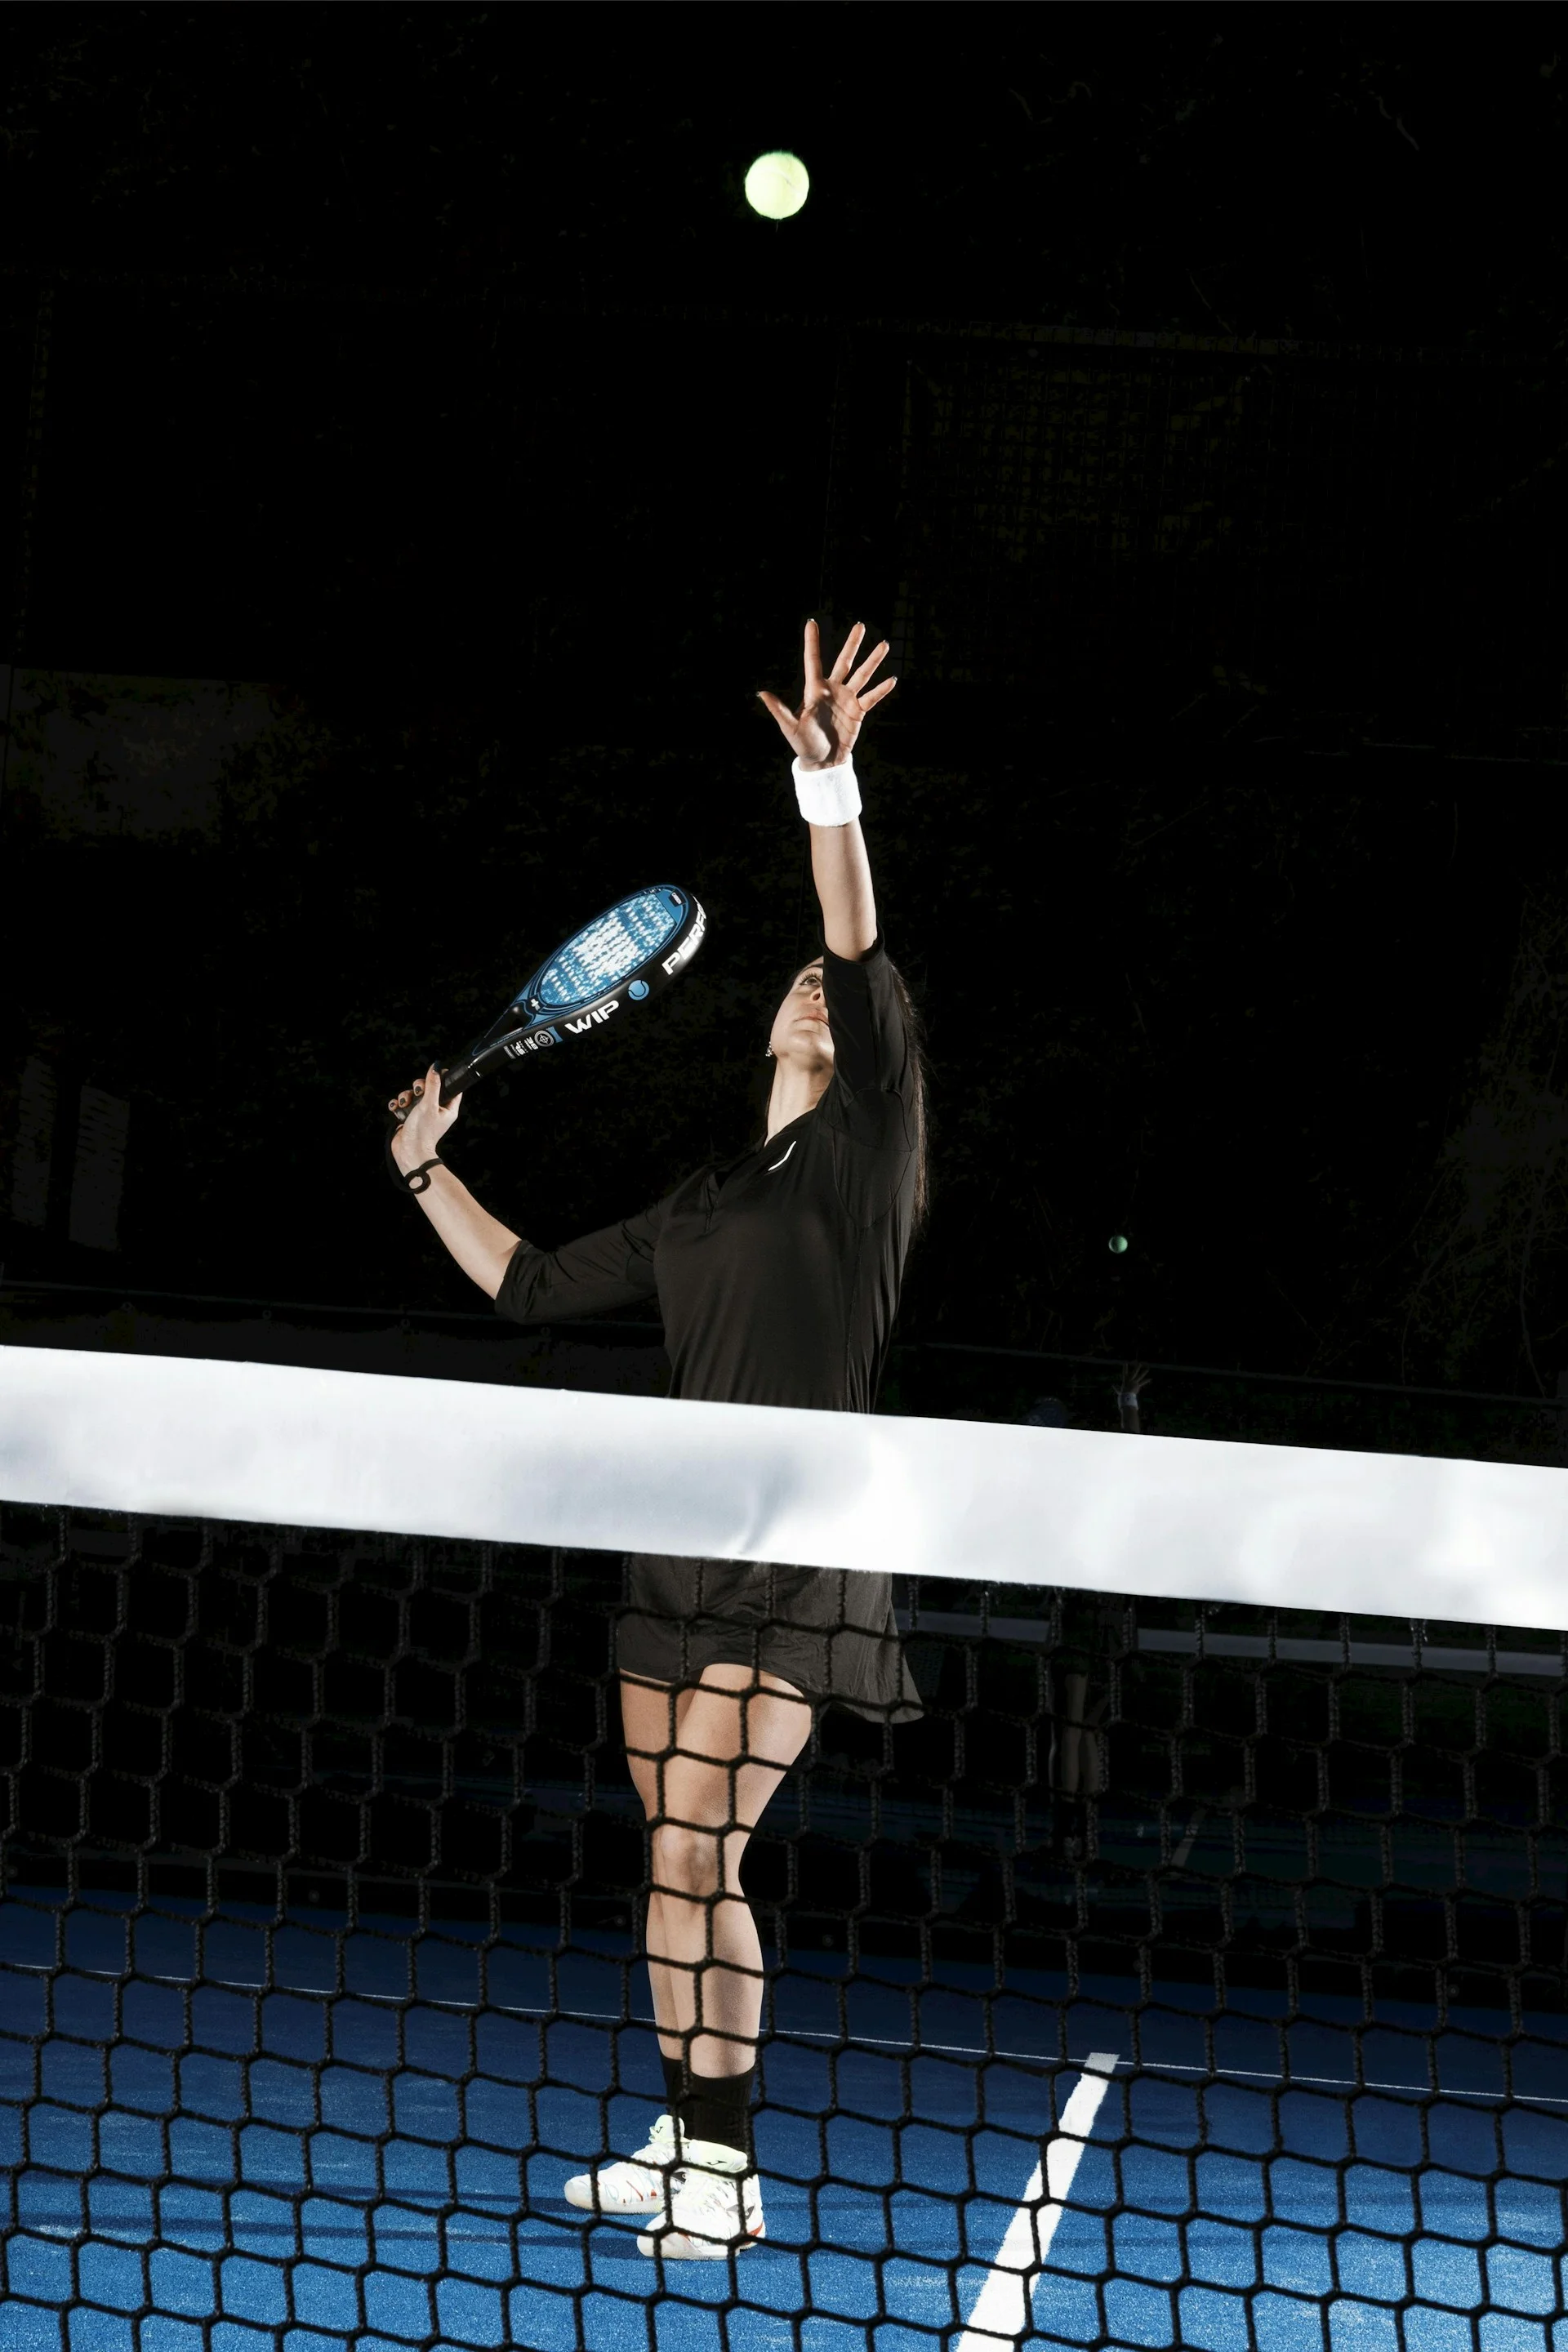
Photo: Ramses Cervantes / UnsplashPhoto: Ramses Cervantes / Unsplash / Unsplash License
When to Use
The smash is the finishing blow in padel, applied when the situation allows you to win the point with a single stroke. Unlike the bandeja and the vibora, the smash is a fully committed aggressive shot with maximum power.
Situations for the smash:
Short lob. The opponent has played a weak lob; the ball is in the ideal hitting zone — high and close to the net.
Optimal position. You are in the zone between the net and the service line, with the ball directly above or slightly in front of you. This is the essential condition for an effective smash.
Opportunity to finish the point. The smash makes sense when you can realistically win the point — through a clean winner, X3, or X4.
High contact point. The ball is at the maximum height of your reach, allowing a full overhead swing downward.
According to PadelMBA research, approximately 25.9% of points in professional padel are finished with smashes. This makes the smash the most productive finishing shot in the sport.
Technique
Grip
The smash uses a continental grip — the universal grip for all overhead shots in padel. A slightly firmer grip pressure is acceptable compared to the bandeja, as the shot requires maximum energy transfer to the ball.
Footwork during the smash is critically important — poor positioning negates all the power of the shot:
Early turn. As soon as you identify the ball as a short lob, turn sideways to the net. For right-handers, the left shoulder leads.
Moving to the ball. Use shuffle and crossover steps. The smash position is closer to the net than the bandeja — typically 2-4 meters from the net.
Weight transfer. At the moment of the hit, transfer body weight from the back foot to the front foot. This adds power and directs the energy of the shot forward.
Recovery. After the smash, be ready for a return — not all smashes win the point. Quickly return to your optimal position.
Full swing. Unlike the bandeja, the smash is executed with a full swing. The racket goes behind the back, the elbow is high, and the body coils like a spring.
Non-hitting hand. Points at the ball — helps track the trajectory and maintain balance.
Contact point. As high and as far in front of the body as possible. The higher the contact point, the steeper the angle of attack and the harder it is for opponents to return.
Full body commitment. The entire body is engaged in the shot: hip rotation, shoulder turn, arm, and wrist. This is the kinetic chain that transfers maximum energy to the ball.
Follow-through. The racket finishes on the opposite side of the body. A complete follow-through is the hallmark of a properly executed shot.
Smash (Remate) Trajectory
Types of Smashes
Flat Smash
The basic smash variant:
The ball is struck from top to bottom with minimal spin
Maximum ball speed
Aimed into the court — goal: the ball bounces and flies toward the back wall, from where the opponent cannot return it
Most effective on short lobs when you are positioned close to the net
X3 — Smash Through the Side Wall
An advanced variation:
After bouncing off the floor, the ball hits the side glass and exits the court through the open section of the side wall
The name X3 refers to the ball crossing three surfaces: floor, side glass, and out through the side passage
Requires precise direction and good spin
Combines power with a lateral component — essentially a powerful vibora
X4 — Smash Over the Back Wall
The most spectacular shot in padel:
After bouncing off the floor, the ball clears the back wall (which is 4 meters high — hence the name X4)
X4 requires heavy topspin: the ball hits the floor, topspin amplifies the bounce, and the ball gains enough height to clear the 4-meter wall
Executed from a zone close to the net (typically 2-3 meters)
Demands perfect timing, positioning, and technique
A ball that clears the back wall is a winner — point won
[EXPERT OPINION] The X4 is an extremely spectacular but risky shot. Even at the professional level, it represents a relatively small percentage of total smashes. For most players, the flat smash and X3 are far more reliable and should be the training priority.
Topspin Smash
Adding topspin to the smash amplifies the ball’s “kick” after bouncing off the floor
After contact with the floor, the ball gains speed and height — making the return from the back wall much harder
Topspin is the key element for the X4 but is useful in regular smashes as well
Achieved by moving the racket from low to high and forward at the moment of contact, with emphasis on wrist action
Video Tutorial
Learn the padel smash in 5 simple steps by Otro Nivel Padel
Common Mistakes
X4 from the wrong position. Attempting an X4 from deep in the court (from the service line and beyond) almost always results in an error. The X4 requires a position close to the net — 2-3 meters. From deeper positions, it is better to play a bandeja or vibora.
Insufficient topspin. A flat smash into the back wall often gives the opponent a comfortable bounce. Topspin is the key to making the ball “accelerate” after the bounce and become unplayable.
Overhitting. Trying to hit with absolute maximum force leads to loss of control. The ball may fly out, hit the side wall without bouncing, or simply be inaccurate. Control matters more than absolute power.
Hitting a falling ball. The ideal contact point is at the peak of the ball’s trajectory or slightly after. Hitting a ball that has already dropped significantly reduces the angle of attack and effectiveness.
Ignoring opponent positioning. A smash to the center of the court when both opponents are standing in the center is often returned. Consider opponent positions: hit to open spaces or aim for X3/X4 directions.
Relaxing after the smash. Not all smashes are winners. Especially in padel, where the walls allow returns of even powerful shots. Be ready for the next ball immediately after the smash.
Smash Statistics in Professional Padel
According to PadelMBA, analyzing professional matches:
25.9% of points are finished with smashes — the highest percentage among all shot types
The smash has one of the best winner-to-error ratios
Professionals choose the smash only when the probability of success is high, preferring the bandeja or vibora in ambiguous situations
The X4 accounts for a relatively small share of total smashes even at the professional level
Drills
Smash off hand feeds. A partner throws balls by hand to a height of 3-4 meters from a distance of 3 meters from the net. Execute smashes aiming for a specific court zone. 3 sets of 10 balls.
Topspin against the wall. Stand 3-4 meters from a wall and execute topspin smashes, observing how the ball bounces. A ball with good topspin accelerates sharply upward after the bounce.
X3 to a target. Place a target (cone or towel) near the side exit of the court. A partner feeds balls; your goal is to execute an X3 so the ball exits through the side wall near the target zone.
Smash with decision-making. A partner feeds lobs of varying depths. You make the decision: short lob equals smash, medium equals vibora, deep equals bandeja. This develops tactical thinking and shot selection.
Match-play tracking. In 2v2 match conditions, track every smash: did it finish the point? If not, what could have been done better? Maintaining a mental log improves decision-making over time.
The globo, or lob, is a defensive shot in padel where the ball is sent in a high arc over the heads of opponents at the net. It is the primary defensive weapon, allowing players to push opponents back from the net and seize the initiative.
The globo is a fundamental shot in padel and arguably the most important defensive tool in every player’s arsenal. In padel, where controlling the net position is the key to winning, the lob is the primary way to strip opponents of that advantage.
Key situations for the lob:
Defense from the back of the court. When you are pushed back to the rear wall and cannot attack, the lob is the safest and most effective response.
Seizing the initiative. A well-placed lob forces opponents to retreat from the net, giving you the opportunity to take their place and gain control of the rally.
Buying time. A high lob gives you time to reposition, recover, and prepare for the next shot.
Against aggressive opponents. If opponents are playing very close to the net, a lob over their heads is the ideal tactical move.
Technique
Grip
For the basic lob, a continental grip or semi-western grip works well. The choice depends on which stroke you use to execute the lob:
Forehand lob: Many players use a semi-western grip, which provides a natural racket face opening to lift the ball.
Backhand lob: Continental or eastern backhand grip — depending on whether you play with one or two hands.
The key principle: the grip must allow you to open the racket face upward to send the ball on a high arc.
Footwork
Proper footwork during the lob is often underestimated:
Early positioning. Identify where the ball is going and move to the contact point early. Do not wait for the ball to come to you.
Stable stance. Transfer weight to the front foot at the moment of contact (for right-handers: left foot on the forehand, right foot on the backhand).
Low center of gravity. Bend your knees slightly. Many lobs are played off low balls — the lower you get, the easier it is to get the racket under the ball.
Forward movement after the shot. Immediately after the lob, begin moving toward the net. The lob is not just a defensive shot — it is the start of the transition from defense to attack.
Lob (Globo) Trajectory
Types of Lobs
Flat Lob
The basic lob for beginners:
The racket moves from low to high and forward
The racket face is open (tilted upward)
The ball travels on a high parabolic arc
Minimal spin — the ball flies predictably
Main target: the ball should pass over opponents’ heads and land in the back third of the court
Topspin Lob
An advanced technique:
The racket brushes up on the ball with additional forward rotation
Topspin causes the ball to drop faster after reaching its peak
The ball “dives” downward, making it harder to intercept
After bouncing, the ball accelerates and moves away from the back wall — extremely difficult to return
Requires significantly more skill and coordination
Direction
Direction choice is a key tactical element:
Cross-court (diagonal). The recommended option in most situations. A diagonal lob covers a longer path, providing a greater margin for height and depth. It also uses more of the court, increasing the chances of success.
Down the line. A riskier option with less margin for error. Used when the opponent on the line side is positioned far from the back wall, or for the element of surprise.
[EXPERT OPINION] Beginners are advised to play 70-80% of their lobs cross-court. This is the safest and most effective option. As your level improves, you can add down-the-line lobs for variety and tactical purposes.
Video Tutorial
How to play a good padel lob by Otro Nivel Padel
Common Mistakes
Lob too short. The most dangerous mistake. A short lob is a gift for opponents: an easy smash or vibora. It is better to overshoot past the back wall (out) than to give away an easy ball at the net. Height is your friend.
Insufficient height. Many beginners are afraid to hit high and play lobs that opponents easily intercept at head level. The ball must pass well above the opponents’ outstretched arms — at least 1-1.5 meters above.
Lob without moving forward. The lob is not only a shot but also a tactical tool for transitioning to the net. If you play a good lob but remain at the back wall, you have wasted half its value.
Same direction every time. If you consistently lob to the same spot, opponents will adapt. Alternate between cross-court and down the line; vary the depth.
Panic under pressure. Under pressure at the net, many players either try to drive the ball low (and make errors) or play a weak lob. Remember: in pressure situations, a deep lob is almost always the best choice.
The Lob as a Tactical Weapon
The globo is not merely a defensive shot. It is a central element of padel’s tactical system:
Lob + net approach. The classic combination: play a deep lob, and while opponents retreat, take up the net position. Learn more about positioning in Basic Positions.
Lob + chiquita. Alternating lobs and chiquitas from the back of the court creates maximum difficulty for opponents: they do not know whether to expect a high ball overhead or a low ball at their feet.
Lob as a reset. When the rally is going against you, a deep lob “resets” the situation and gives you a chance to start fresh.
Drills
Lob to the zone. Mark the back third of the court with cones. A partner at the net plays volleys; you respond only with lobs. Target: 7 out of 10 lobs land in the zone.
Cross-court vs down the line. A partner calls the direction (“cross!” or “line!”) before each shot. You execute the lob in the called direction. This develops directional control.
Lob + transition. Play a lob from the back of the court, then immediately sprint to the net and take the next ball as a volley. This trains the lob-to-net transition sequence.
Height and depth calibration. Stretch a rope or tape at 4 meters high across the court (at the height of the back wall). Your task is to hit the ball over the rope so it lands before the back wall. This calibrates your sense of height.
Lob under pressure. Two players at the net continuously attack (volleys, bandejas); two players at the back defend using only lobs. Goal: hold for 2 minutes using nothing but lobs.
The vibora (víbora) is an aggressive overhead shot in padel with heavy sidespin. After bouncing, the ball veers into the side glass, making the return extremely difficult for the opponent.
The vibora is an intermediate shot between the bandeja and the smash. It is more aggressive than the bandeja but safer than the smash, and it is one of the most effective tools for applying pressure on opponents.
Use the vibora in the following situations:
Medium-height, medium-depth lob. The ball allows an overhead shot, but it is not in the ideal zone for a full smash.
You need to apply pressure. You want to make the return difficult for the opponent without risking an error on a full smash.
Opponent is vulnerable near the side wall. The vibora is most effective when aimed so that the ball veers into the side glass on the opponent’s side after bouncing.
Maintaining net position. Like the bandeja, the vibora allows you to keep your net position while applying significantly more pressure.
The name “víbora” means “viper” in Spanish — the shot, like a snake, twists and changes direction after the bounce.
Technique
Grip
The vibora uses a continental grip, the same as the bandeja and other overhead shots. However, the wrist plays a far more active role in the vibora — it is the wrist snap at the moment of contact that gives the ball its characteristic sidespin.
Some advanced players shift the grip slightly toward an eastern forehand to enhance the sidespin, but this is individual and requires significant practice.
Footwork for the vibora is largely similar to the bandeja, with a few key nuances:
Shoulder turn. Turn sideways to the net as soon as you identify the ball trajectory. For right-handers, the left shoulder faces the net.
Movement. Travel toward the ball using shuffle or crossover steps (carioca). Avoid running backward.
Hitting position. The ball should be slightly in front of and to the side. The vibora allows a slightly more lateral position compared to the bandeja, which facilitates generating sidespin.
Recovery. Move forward immediately after the shot. The vibora typically puts the opponent in a difficult position — be ready for a weak return.
Swing and Contact
Preparation. The racket rises behind the head, elbow at or slightly above shoulder height. The non-hitting hand points at the ball for balance and tracking.
The key element — wrist snap. The fundamental difference between the vibora and bandeja is the active wrist action. At the moment of contact, the wrist snaps sharply, imparting intense sidespin to the ball.
Contact point. Strike the ball in front of and slightly to the side of your head. The racket path is not straight top-to-bottom but includes a lateral component — this is what generates the sidespin.
Direction. The goal is to direct the ball so that after bouncing off the floor, it veers into the side glass. For a right-hander hitting to the right side of the court, the ball moves right toward the side wall after the bounce.
Trajectory and Bounce
Vibora Trajectory
The vibora’s trajectory is fundamentally different from the bandeja:
Flatter arc. The vibora flies lower and faster than the bandeja.
Lateral movement after bounce. Thanks to the sidespin, the ball veers sharply to the side after hitting the floor — into the side glass.
Difficult glass bounce. A ball hitting the side glass with heavy spin bounces unpredictably — low and in a direction that is uncomfortable for the opponent.
Video Tutorial
Master the padel vibora in 12 steps by Otro Nivel Padel
Common Mistakes
Power instead of spin. The most common mistake is trying to hit as hard as possible. The vibora’s effectiveness comes from the quality of the spin, not the power. A ball with good sidespin, even at moderate speed, creates far more problems for the opponent.
Wrong ball selection. The vibora does not work on every lob. If the ball is too high and deep, a bandeja or a retreat for a smash is a better option. If the ball is in the perfect striking zone, finishing with a smash is preferable.
Insufficient wrist action. Without an active wrist snap, the vibora becomes a poor bandeja — without the needed spin, the ball does not veer into the side wall.
Wrong direction. The vibora is most effective when hit to specific zones. The ball should land so that it veers into the side glass after the bounce. This requires understanding the court geometry and bounce angles.
Losing position. As with the bandeja, you must immediately recover to the net after the vibora. Lingering in the back zone negates the advantage gained from a well-executed shot.
Vibora vs Bandeja: When to Choose Which
The choice between vibora and bandeja is one of the key tactical decisions at the net:
Bandeja — when reliable control is needed, the ball is not suitable for aggression, or the situation calls for a safe shot.
Vibora — when there is an opportunity to apply pressure, the ball is suitable for generating spin, and you want to make life difficult for opponents.
[EXPERT OPINION] Beginners and intermediate players are advised to first master the bandeja to a consistent level before moving on to the vibora. Attempting to play viboras without a confident bandeja leads to a high number of errors.
Drills
Wrist snap on the spot. Without a ball: stand in the overhead position and repeatedly perform the wrist snap motion, simulating contact. This develops the muscle memory for the wrist movement — the key element of the vibora.
Vibora into the side glass. A partner feeds balls overhead; your goal is to execute a vibora so that the ball hits the side glass after bouncing off the floor. Start from 2-3 meters behind the net. Target: 5 out of 10 balls into the glass.
Bandeja-vibora alternation. A partner feeds lobs; you alternate between bandeja and vibora on every other ball. This develops the ability to switch between shots and choose the right option.
Vibora with zone control. Divide the court into zones: left corner, center, right corner. Practice viboras into each zone, paying attention to the angle of the bounce toward the side wall.
Match-play integration. In 2v2 match conditions, consciously look for vibora opportunities. After each rally, evaluate: Was it the right moment? Did the ball veer effectively into the glass?
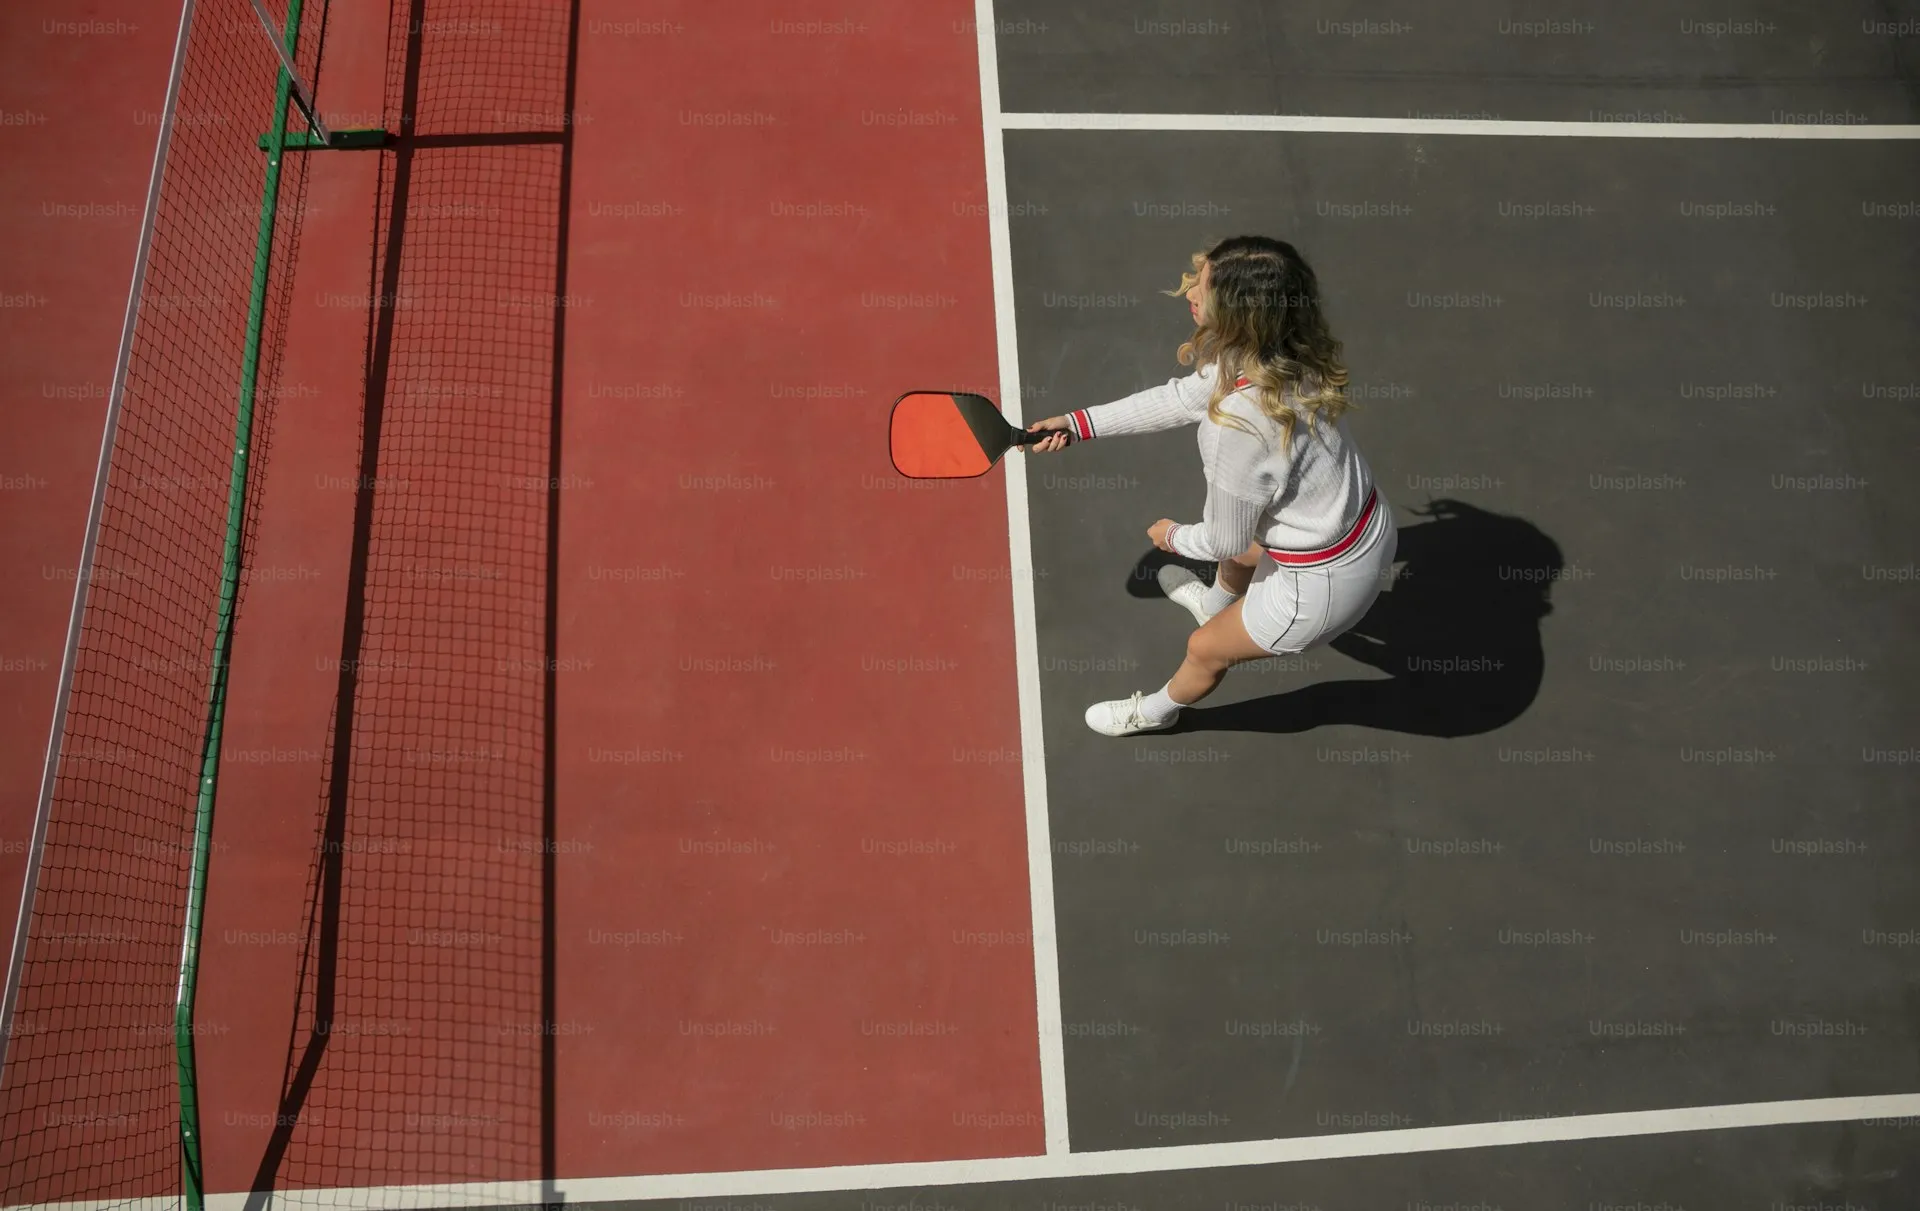
The chiquita is a low, soft shot in padel aimed at the opponents’ feet near the net. It is a key transition shot that allows players to take over the net position and shift from defense to attack.
The chiquita is one of the most important tactical shots in padel. The name comes from the Spanish word “chiquita” (small one), which perfectly describes the essence of the shot: small, soft, yet tactically powerful.
Key situations for the chiquita:
Transitioning to the net. The classic application: you are at the back of the court, play a chiquita at the opponent’s feet, and follow the ball forward to take up the net position.
Opponents 2-3 meters from the net. The chiquita works best when opponents are not right at the net but have stepped back slightly. In this case, the ball has time to drop to their feet.
Alternating with the lob. The lob + chiquita combination creates maximum uncertainty: opponents do not know whether to expect a high ball overhead or a low ball at their feet.
After a back wall bounce. A ball that bounces off the back wall is often at a comfortable height for executing a chiquita.
The chiquita forces the opponent to play a volley from below the waist (upward), giving you a chance to seize the initiative: a weak volley is your opportunity to attack.
Technique
Grip
The chiquita uses a continental grip or semi-western grip:
Continental — the universal option, allowing you to play the chiquita on both forehand and backhand without changing grip.
Semi-western — provides slightly more control on the forehand chiquita due to a more stable racket face.
The key element: the racket face should be slightly open (tilted back/upward). This allows the ball to clear the net on a low arc and then drop quickly.
Footwork
Footwork during the chiquita is critically important because the shot is inseparably linked to the forward movement toward the net:
Preparation. Identify the moment for the chiquita: the ball is at a comfortable height (between knee and waist), and opponents have moved back from the net.
Step forward. Step toward the shot with the front foot. This simultaneously provides balance and initiates the movement toward the net.
Low center of gravity. Bend your knees and lower your body. The chiquita is played on a low ball — you need to be at its level.
Continue forward. This is the most important element. Immediately after the shot, continue moving toward the net. A chiquita without a net approach is a wasted opportunity.
Swing and Contact
Short backswing. The chiquita does not require a large backswing. The racket is taken back minimally — most of the work is done by the wrist and forearm.
Soft contact. The keyword is “touch.” The ball should softly clear the net and drop at the opponent’s feet. This is not a power shot.
Open racket face. At the moment of contact, the racket face is slightly open. The motion is forward and slightly upward, similar to scooping the ball with your palm.
Light slice. Many players add a slight backspin so the ball drops faster after clearing the net and stays low. This is achieved by moving the racket slightly from high to low and forward.
Direction. The chiquita is aimed at the nearest opponent’s feet or at the space between the two opponents. The center of the court (between players) is often the best target zone.
Ball Trajectory
Chiquita Trajectory
The ideal chiquita has a characteristic trajectory:
Low arc over the net. The ball clears the net with minimal margin — the lower, the better (but not into the net!).
Quick descent. After crossing the net, the ball drops rapidly, arriving at the opponent’s feet.
Contact at or below waist level. The goal: force the opponent to play a volley from an uncomfortable low position.
Video Tutorial
The best padel chiquita lesson by Otro Nivel Padel with German Schafer
Common Mistakes
Too much power. The most common mistake. The chiquita is a soft shot. If you hit hard, the ball rises too high, giving the opponent a comfortable volley at chest level. Softness is the key to success.
Chiquita when opponents are right at the net. If opponents are standing directly at the net (less than 1-1.5 meters away), the chiquita is ineffective — they will intercept the ball before it drops to their feet. In this case, use a lob instead.
No net approach. A chiquita without following to the net is a half-wasted shot. Even if the chiquita is well executed, staying at the back gives the initiative right back to the opponent. Always move forward after the shot.
Predictability. If you play the chiquita every time from the same position, opponents will start anticipating and intercepting the ball early. Alternate the chiquita with lobs and other shots.
Hitting the net. When striving for a low trajectory, it is easy to overdo it and hit the net. Make sure the racket face is sufficiently open and the motion is directed forward and slightly upward.
Tactical Combinations with the Chiquita
The chiquita reaches its full potential in tactical combinations:
Chiquita + Net Approach
The basic combination:
Play a chiquita from the back of the court
Immediately move toward the net
The opponent is forced to volley from below the waist
You intercept the weak response from your advantageous net position
Chiquita + Lob
Alternation pattern:
Play a lob — opponents retreat
Opponents return to the net
Play a chiquita — ball at their feet
Opponents do not know what to expect and make errors
Chiquita to the Center
Advanced tactic:
Direct the chiquita exactly between the two opponents
This creates confusion: which of the two should play the ball?
Often leads to racket collisions or delayed reactions
Drills
Chiquita over the net. Stand at the service line with a basket of balls. Execute chiquitas over the net, aiming for the ball to land in the zone 1-2 meters beyond the net. This calibrates the softness of the shot and your sense of distance.
Chiquita + forward movement. A partner feeds the ball to your back court. Execute a chiquita and move toward the net, where you take the next ball as a volley. Repeat 10 times, then switch roles.
Lob-chiquita alternation. A partner stands at the net. Alternate: one shot is a lob, the next is a chiquita. This develops the ability to switch between shots and keep opponents guessing.
Chiquita to a target. Place a towel or cone 1.5-2 meters behind the net. Execute chiquitas aiming as close to the target as possible. Goal: 6 out of 10 balls within 1 meter of the target.
Match-play focus. In 2v2 match conditions, set a goal: every time you play a chiquita, you must follow to the net. Evaluate after each rally: Did I follow the ball forward? Did I manage to take the net?
Walls are not obstacles — they are tools. The ability to read rebounds and use walls turns a constraint into an advantage and sets padel apart from every other racket sport.
Wall play is what makes padel a unique sport. According to the wall play rules, after the ball touches the floor on your side, it can bounce off any wall and remains in play. This creates an entirely new dimension in strategy: shots that would be “dead” in tennis stay alive in padel.
For beginners, the walls often become a source of confusion. The ball flies toward the wall, and panic sets in — you cannot tell where it will bounce, when to swing, or what to do. But the key principle is simple: you have more time than you think. The ball slows down after each bounce, and the wall effectively gives you extra time to prepare for your shot.
Back Glass Rebounds
The back glass is the most common type of wall rebound. Your opponent hits a deep shot, the ball bounces off the floor, and strikes the back wall.
How the ball behaves:
After contacting the glass, the ball loses significant speed
The trajectory is predictable: the ball rebounds forward, back toward the center of the court
The harder the opponent’s shot, the farther from the wall the ball rebounds
A ball with underspin (slice) “sticks” to the wall and rebounds weakly
A ball with topspin rebounds higher and farther
How to play it:
Step away from the wall. The most common mistake is standing right up against the wall. Step back 1–2 meters and let the ball come to you.
Turn sideways. Do not face the wall — turn sideways so you can see both the wall and the net.
Wait for the rebound. Do not hit the ball before it bounces off the wall. Let physics do its work.
Use the time. The wall has given you extra seconds — use them for shot selection and positioning.
[EXPERT OPINION] Beginners often try to hit the ball between the floor and the wall, at the moment it is still traveling toward the wall. This almost always leads to an error. The rule: if the ball is heading for the wall — let it bounce. The only exception is a ball with very weak spin that might “die” against the wall.
Side Glass Rebounds
The side glass creates more complex rebounds because the ball changes direction horizontally.
Basic principle: the angle of incidence approximately equals the angle of reflection. A ball arriving at the side wall at a 45-degree angle will rebound at roughly the same angle in the opposite direction. However, spin on the ball can significantly alter this angle:
No spin: predictable rebound following the angle rule
Sidespin: the ball “drifts” to one side after the rebound
Topspin: the rebound is higher and faster
Underspin: the ball “sits down” after contacting the wall
How to play it:
Step away from the wall, giving the ball space to rebound.
Track the ball with your eyes from the moment of your opponent’s shot.
Anticipate the rebound direction based on the incoming trajectory.
Prepare your racket early — after a side wall rebound, there is little time for preparation.
Combined Rebounds
The most challenging type is the combined rebound, where the ball contacts multiple walls in sequence. The most common combination is back wall then side wall (or vice versa).
Back wall to side wall:
The ball rebounds off the back wall, moves forward and to the side, then contacts the side wall. After the double rebound, the ball typically ends up in the center of the back court, moving slowly and at a comfortable height. This is one of the best moments for a counterattack.
Side wall to back wall:
A ball arriving at a sharp angle first contacts the side wall, then the back wall. This rebound is harder to read because the ball changes direction twice. The key is to stay calm and let the ball complete both bounces.
Practical tip: during practice, ask your partner to hit balls into the corner of the court (where the side wall meets the back wall). Watch the trajectory without attempting to hit. Simply get used to the ball’s behavior. After 15–20 minutes of this practice, you will start to intuitively sense where the ball will go.
Positioning
Defensive position during wall play: our team (1, 2) behind the service line, opponents (3, 4) control the net
Correct positioning during wall play accounts for 90% of success. Here are the key rules:
Do not press against the wall. Always leave 1–2 meters between yourself and the wall. The ball will come to you — you do not need to go to it.
Stay behind the service line. When defending, your base position is behind the service line (approximately 1.8–2.5 m from the back wall). This gives you reaction time.
Do not get stuck in the corner. After a wall shot, move back to the center of your half of the court.
Use the walls for counterattacks. After a successful wall rebound, you have options: a defensive lob, a precise shot to the center, or an attacking drive. The wall gave you time — use it wisely.
After playing off the back wall, aim to position yourself 1.8–2.5 m from the back wall, or advance toward the net if the quality of your shot allows it.
Video Tutorial
How to play close to the glass: practical tips from The Padel School
Common Mistakes
Panicking near the glass. The wall is your friend, not your enemy. The ball slows down and becomes predictable. Breathe and wait.
Trying to hit too hard. After a wall rebound, the ball is already slow. A powerful shot is unnecessary — an accurate one is needed. A controlled deep lob or precise placement is far more effective.
Hitting before the wall rebound. If the ball is heading for the wall, let it bounce. Do not try to intercept it.
Standing right against the wall. You need space for your swing. Step back and let the ball come to you.
Ignoring the walls. Some beginners try to hit every ball before it reaches the wall. This is not tennis — let the wall work for you.
Misreading spin. A sliced ball behaves completely differently from a topspin ball. Pay attention to your opponent’s racket motion during the shot.
Exercises
Observation without hitting. A partner hits balls at the back wall with varying power. You stand and observe the rebound without attempting to hit. Goal: learn to predict where the ball will end up. 10 minutes.
Wall to center. A partner feeds balls into the back wall. You wait for the rebound and send the ball with a controlled shot to the center of the court. Focus on control, not power. 15 minutes.
Side wall practice. A partner hits balls at the side wall from different angles. You practice reading the rebound and returning the shot. 10 minutes on each side.
Corner rebounds. A partner hits balls into the corner (where the back wall meets the side wall). You wait for the combined rebound and play a defensive lob. 10 minutes.
Wall to lob rally. Rally drill: one player hits deep, the other plays off the wall with a lob. Goal: a consistent, deep lob after every wall rebound. 15 minutes.
The drop shot is a deceptive stroke that turns the opponent’s aggressive position into a desperate sprint to the net. Finesse, timing, and disguise are the keys to this shot.
Beyond the bandeja and the vibora lie the shots that elevate a game to elite level: the rulo, the gancho, and the kick smash. Each solves a specific tactical problem.
A soft overhead with topspin and sidespin aimed at the opponent’s side glass. From the Spanish “rulo” = “roll.”
The King of the Rulo: Franco Stupaczuk (Stupa) — the acknowledged master of this shot.
When to Use
The ball is behind your body — no clean smash available
You need to regain the attacking position at the net
NOT for winning the point outright — for creating problems for the opponent
Technique
Contact point: lower than the smash; above the left shoulder (for right-handers)
Wrist action: relaxed wrist, a “wrist slice” across the outside of the ball
Speed: intentionally soft — the feeling of a “gentle push,” not a hit
Result: the ball rebounds off the side wall on an unpredictable trajectory
The Main Mistake
Hitting too hard. The rulo is about spin, not power.
Gancho (“The Hook”)
What It Is
An overhead hook shot used when a lob flies over the non-dominant shoulder (left for right-handers) and there is no time to turn for a smash or bandeja.
When to Use
A lob sails over your left shoulder
No time to turn
The ball is behind you — the gancho lets you stay at the net
Technique
The loop: the racket travels from the ready position through a backward loop to the contact point above the head
MISTAKE: lifting the racket straight through the front of the body = a badminton-style shot (weak and predictable)
Contact: high, behind the head or above the non-dominant shoulder
The wrist is the last link: for directional control
Strategic Value
Allows you to stay at the net after a lob instead of retreating
Goal: direct the ball into the side glass for a difficult rebound
When executed well, it turns defence into attack
Kick Smash
What It Is
A topspin smash in which the ball changes direction after bouncing off the floor and back wall, kicking upward. The ultimate version — X3 (por tres): the ball exits the court over the 3-metre side wall.
Contact: above the head or slightly behind; the further back, the more topspin
Wrist snap: relaxed wrist, “rolling” up the back of the ball from low to high
Footwork: step back quickly behind the ball, stable base
The X3 Trajectory
The ball bounces roughly 1 m before the service line
Rebounds off the back wall about 2.5 m from the rear corner
With good topspin the ball “kicks” up and exits over the 3-metre side wall
The Key Principle
The kick smash is about topspin, not power. A common misconception: brute force will do the job. In reality, the kick smash demands finesse, timing, and spin.
Comparison Table
Shot
Purpose
Speed
Spin
When
Rulo
Control and position
Soft
Side + topspin
Ball behind the body
Gancho
Hold the net
Medium
Depends on situation
Lob over weak shoulder
Kick Smash
Win the point (X3)
Medium–hard
Topspin
High lob with time
Common Mistakes
Attempting before mastering the basics. Learn the bandeja and vibora before moving to advanced shots.
Power instead of spin. All three shots demand finesse. Brute force = loss of control.
Gancho without the loop. Lifting the racket straight up = badminton shot.
Wrong contact point. The rulo and gancho are struck behind the head, not in front.
Drills
Rulo at the wall. Toss the ball and hit a rulo into the side glass. Observe the rebound. 20 repetitions.
Gancho from a toss. Partner tosses the ball over your left shoulder; you execute the gancho. 15 repetitions.
Kick smash to target. Place a cone ~1 m before the service line. Hit kick smashes aiming for that zone. 10 out of 15 = good.
Match rotation. 2 vs 2, the attacking pair alternates rulo, gancho, and kick smash. Goal: confident switching.