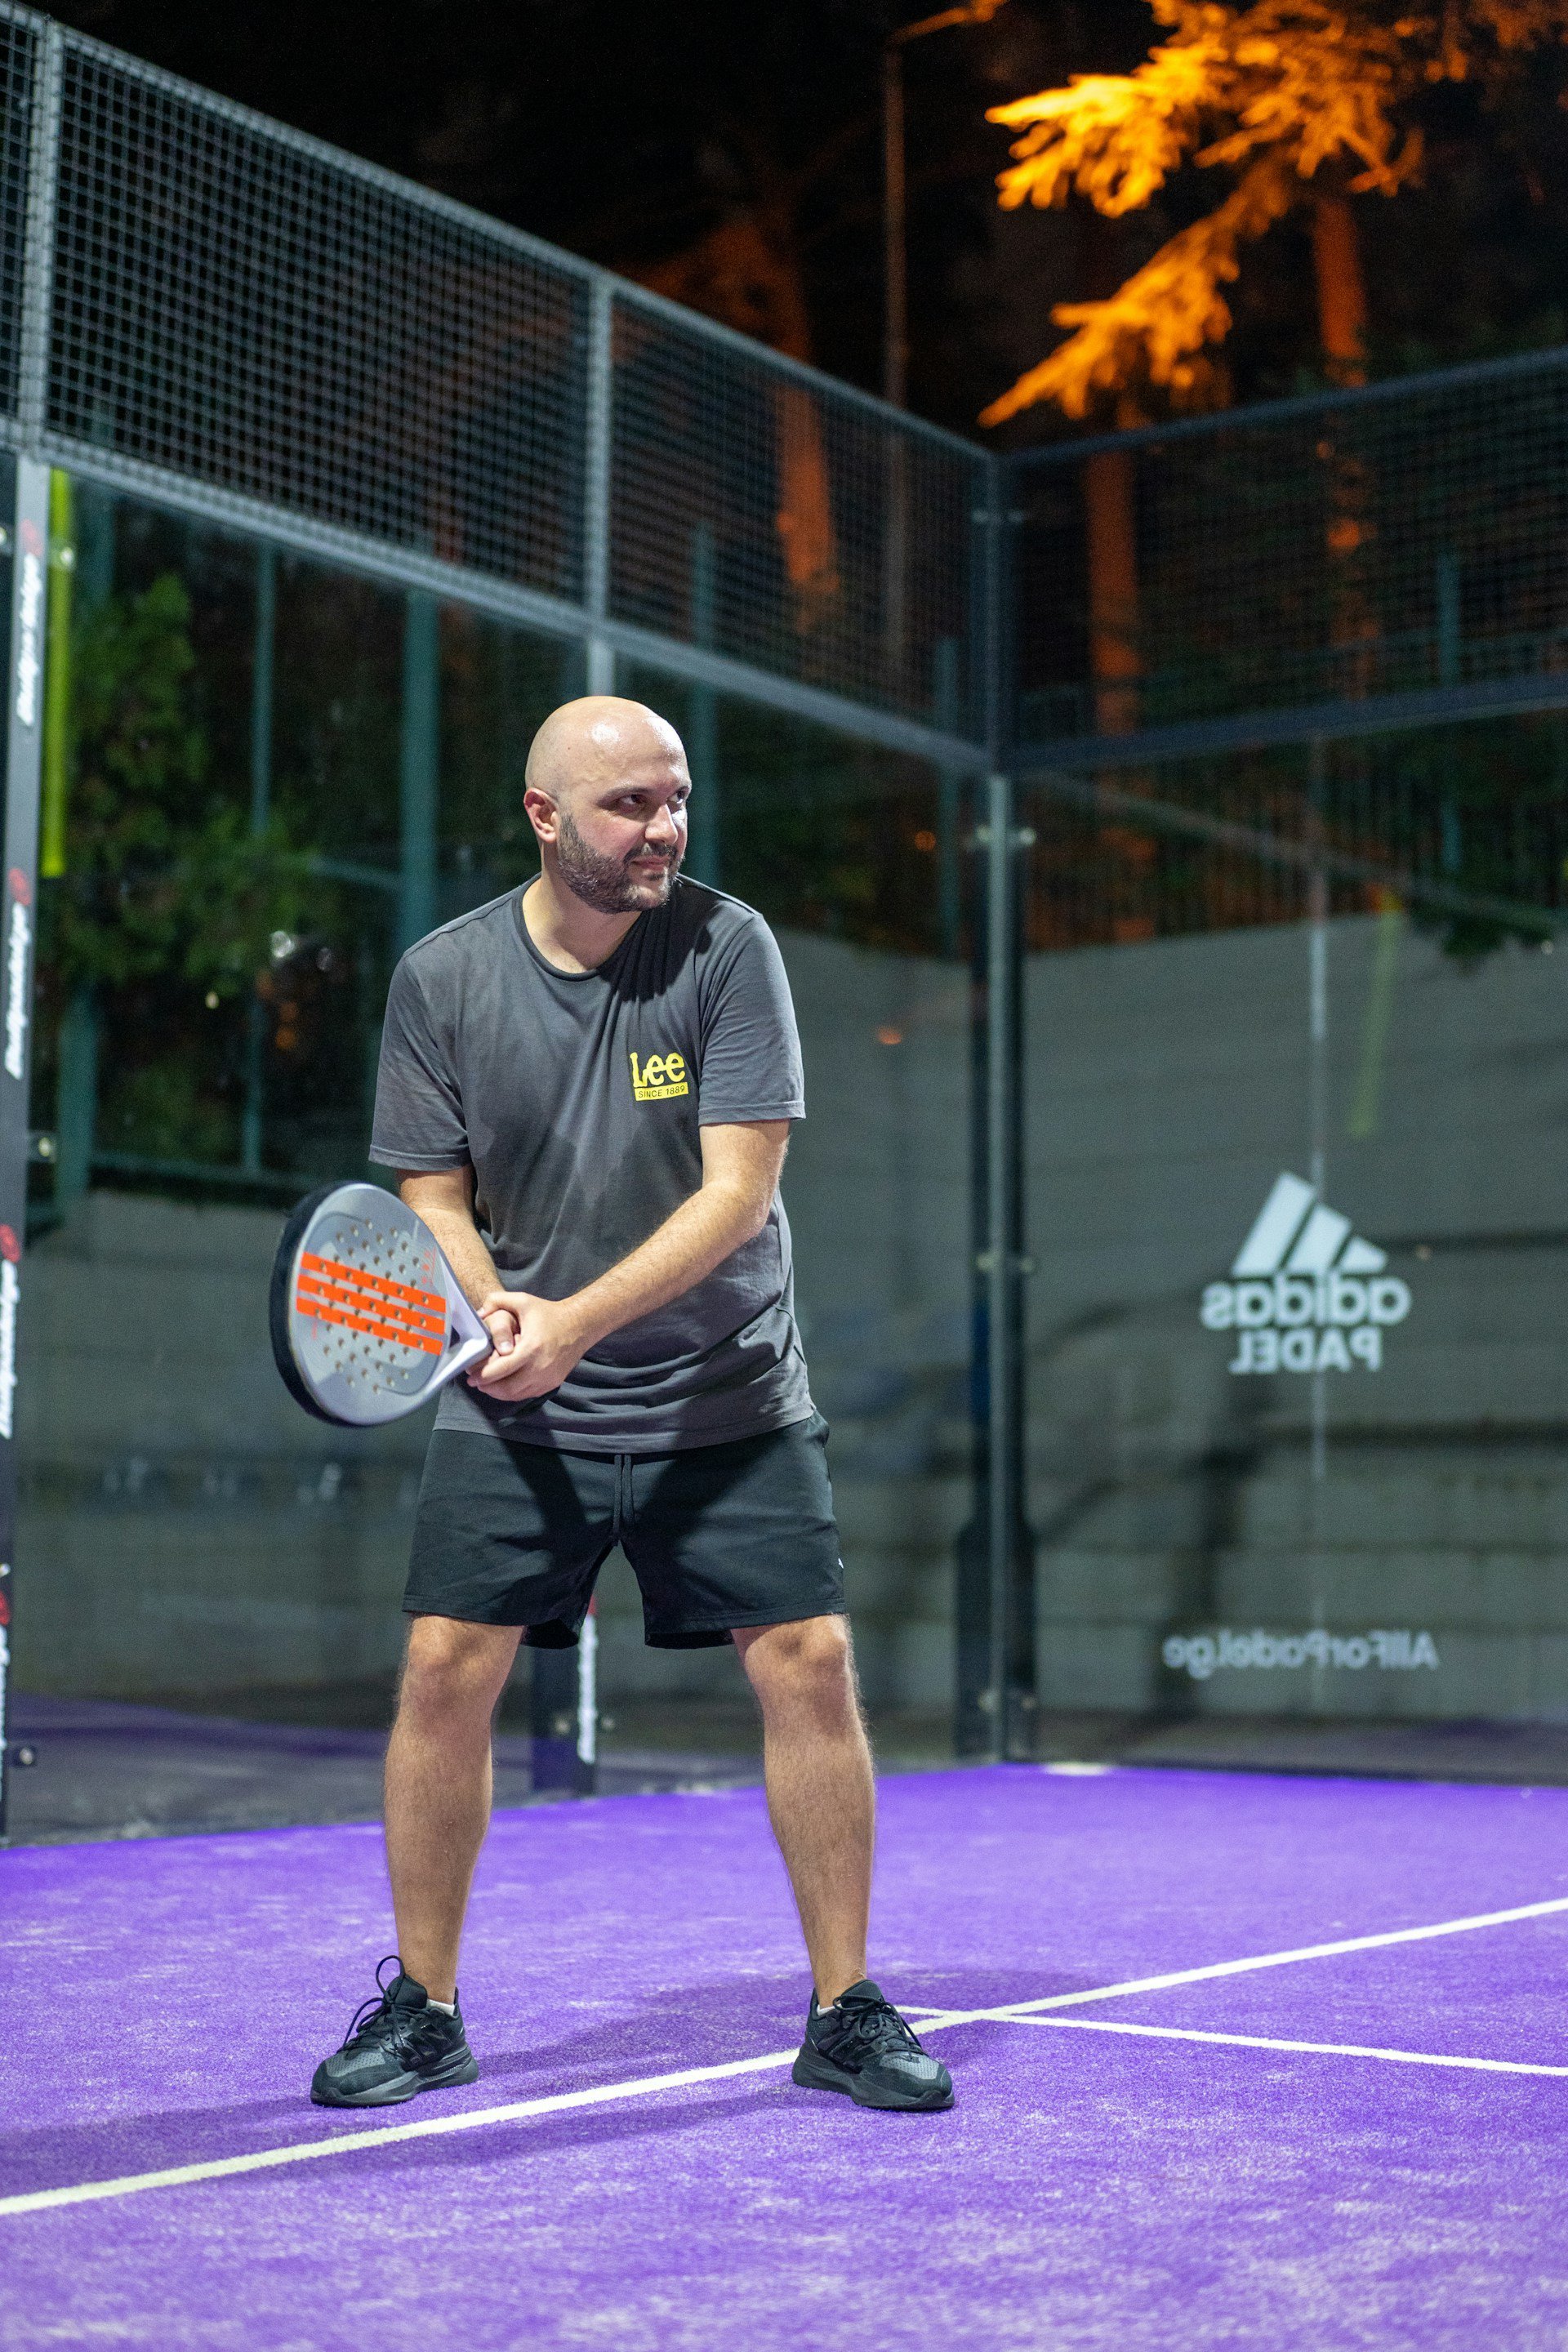
A structured training programme for your first 4–8 weeks in padel. The goal is to master basic technique, get comfortable with the court and walls, and develop an initial feel for the ball.
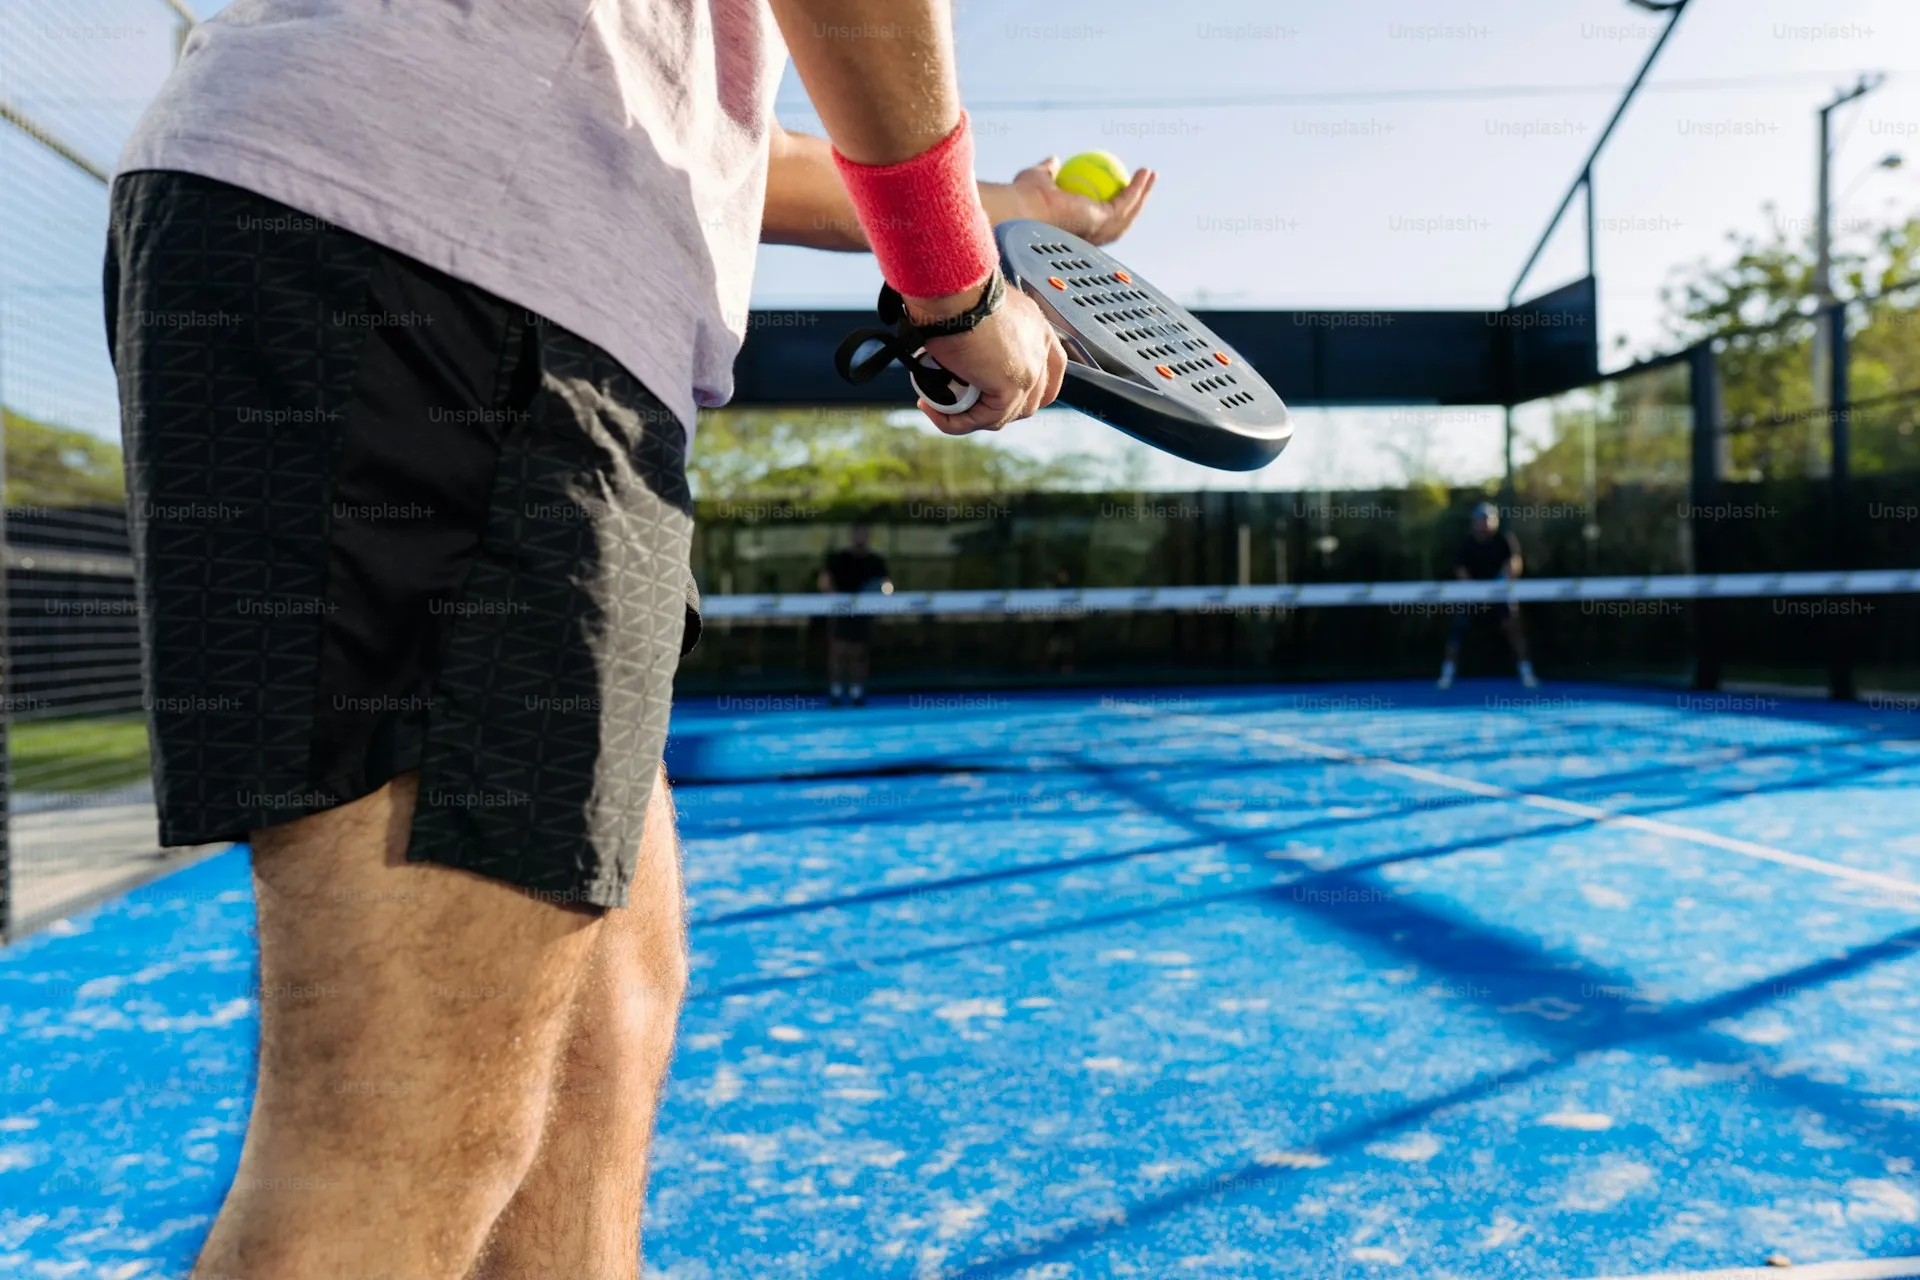
A proper warm-up before playing padel reduces the risk of injury, improves reaction speed, and prepares joints, muscles, and the nervous system for rapid movements, shots, and sudden changes of direction.
Padel is a sport built on intense short bursts, sharp stops, and numerous overhead shots. Without preparation, muscles, ligaments, and joints are not ready for these demands, which significantly increases the likelihood of injury. The ankle, knees, shoulders, and lower back are particularly vulnerable.
A quality warm-up lasting 12–15 minutes serves several purposes: it raises body temperature and increases blood flow to the muscles, improves joint mobility and ligament elasticity, and activates the nervous system for better coordination and reaction time. Players who warm up before every session and match report a more confident start to their games — the opening games feel easier, shots are more accurate, and movement around the court is quicker.
[EXPERT OPINION] Many recreational players step onto the court and begin playing immediately, viewing the warm-up as wasted time. However, statistics show that the majority of muscle and joint injuries in amateur padel occur within the first 15–20 minutes of play — precisely when the body has not yet been warmed up.
Phase 1 — General Warm-Up (5 min)
The goal of the first phase is to raise the heart rate and warm up the major muscle groups. All exercises are performed at an easy pace.
Light jogging on the spot or around the court (1–2 min). Start with walking and gradually transition to a gentle jog. Do not rush — the aim is to warm up, not to tire yourself out.
High-knee running (30 sec). Lift your knees to waist height, pumping your arms in opposition.
Jumping jacks (30 sec). Legs apart — arms up, legs together — arms down.
Lateral shuffles along the court (1 min). Move in a low stance as if shuffling at the net. Change direction every 5–6 steps.
Phase 2 — Dynamic Stretching (5 min)
Dynamic stretching prepares joints and muscles for full-range movements. Unlike static stretching, each position is held for only 1–2 seconds rather than 20–30.
Arm circles (30 sec). Both arms simultaneously, forward and then backward. Gradually increase the range of motion.
Hip circles (15 sec per leg). Standing on one leg, rotate the other leg (knee bent) in a circle outward, then inward.
Forward lunges with torso rotation (5 per leg). Step into a deep lunge, then rotate the torso toward the front leg. This stretches the hip flexors and activates the core.
Front-to-back leg swings (10 per leg). Holding onto the wall or court fencing, swing a straight leg forward and backward with increasing amplitude.
Side-to-side leg swings (10 per leg). Same principle, but in the lateral plane — stretches the adductors and abductors.
Torso rotations (30 sec). Standing with feet shoulder-width apart and arms in front of the chest, rotate the torso left and right while keeping the hips still.
Ankle circles (15 sec per foot). Place the toe on the ground and make circular movements. The ankle is one of the most vulnerable joints in padel, especially during rapid direction changes.
Neck tilts and rotations (20 sec). Gentle tilts forward-backward, left-right. Avoid full circular rotations.
Phase 3 — Padel-Specific Movements (5 min)
The final phase mimics movements specific to padel and prepares the neuromuscular system for sport-specific patterns.
Split-step (1 min). Stand in a ready position: feet shoulder-width apart, knees slightly bent, weight on the balls of the feet. Perform a split-step every 2–3 seconds, landing on both feet simultaneously. For more detail, see Footwork.
Shadow swings (1–2 min). Without a ball, perform the main shots: forehand, backhand, volley, overhead. Focus on full range of motion and correct technique.
Lateral shuffles with volley simulation (1 min). Shuffle along the net, simulating volleys alternately on the forehand and backhand side.
Forward-backward movement (1 min). From the net position, retreat to the back wall using shuffle or crossover steps, simulate an overhead, then return to the net.
Mini-rally at low intensity (optional). If your partner is already on court, hit the ball back and forth over the net 10–15 times at 30–40% power. This helps “switch on” your ball feel.
Cool-Down After the Match
The cool-down is just as important as the warm-up. After a match or training session, spend 5–10 minutes on static stretching and gentle recovery.
Exercise
Muscle Group
Duration
Standing toe touch
Hamstrings
20–30 sec
Standing quad stretch (heel to glute)
Quadriceps
20–30 sec per leg
Calf stretch against the wall
Gastrocnemius, soleus
20–30 sec per leg
Cross-body shoulder stretch
Posterior deltoid
20–30 sec per arm
Overhead triceps stretch
Triceps, lats
20–30 sec per arm
Hands clasped behind back
Chest muscles
20–30 sec
Standing side bend
Obliques
15–20 sec per side
After stretching, drink water and allow your body to cool down before leaving the court.
Common Mistakes
Static stretching on cold muscles. Holding deep stretch positions before warming up can cause micro-tears in muscle fibres. Static stretching is appropriate only for the cool-down after play.
Skipping the warm-up. Starting a match or training session without a warm-up is one of the leading causes of injury in recreational padel. Even 5–7 minutes of light warm-up significantly reduce the risk.
Over-intensive warm-up. The purpose of the warm-up is to prepare the body, not exhaust it. If you are sweating heavily and out of breath before the game starts, you have overdone it.
Warming up only the upper body. Padel is a whole-body sport. The legs and core work just as hard as the arms. Pay attention to all muscle groups.
Skipping the cool-down. Omitting the cool-down leads to accumulated muscle fatigue, slows recovery, and increases muscle soreness the following day.
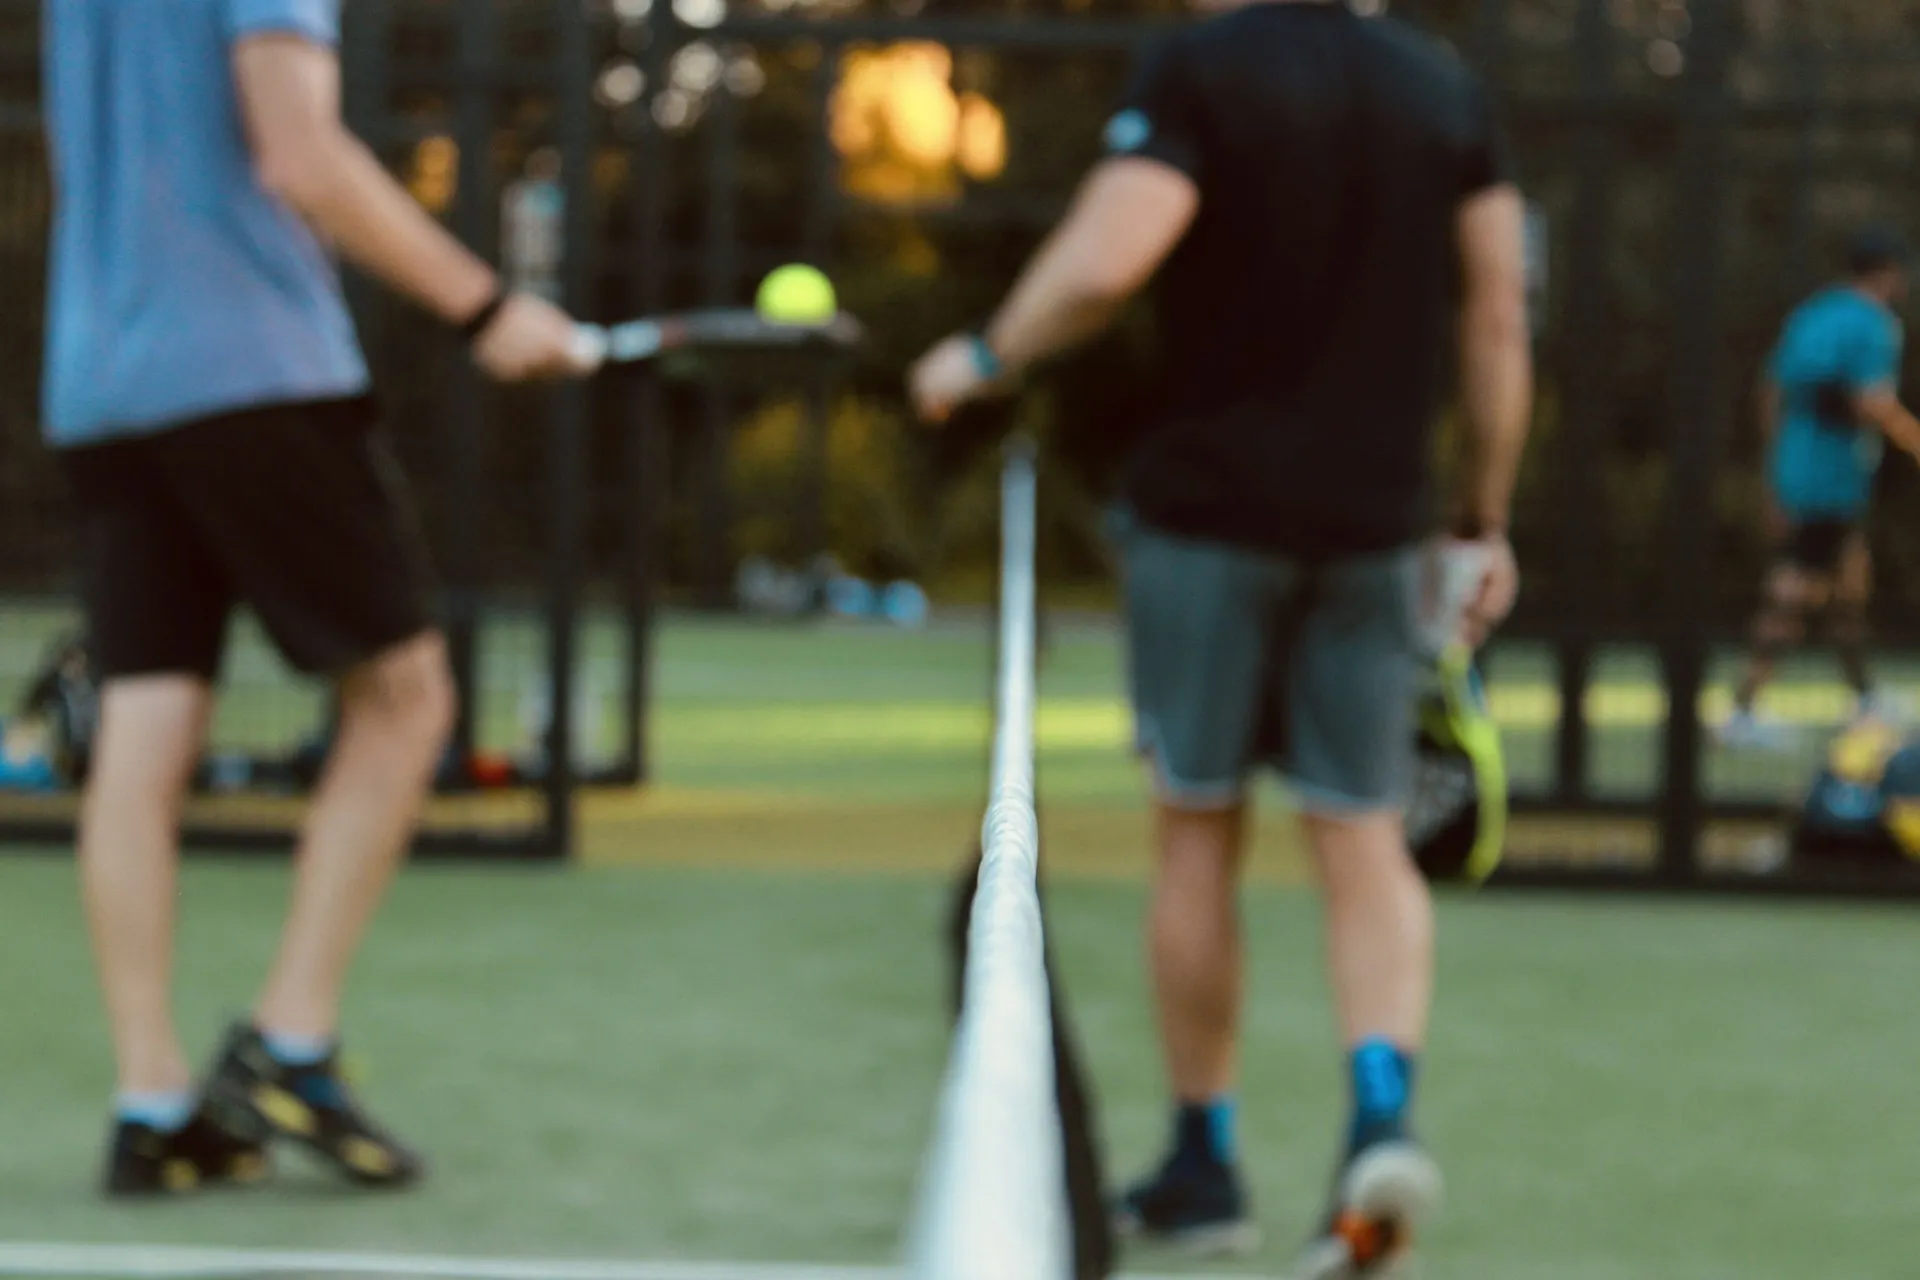
A set of eight targeted drills for players who have mastered the basics and are ready to step up their game. Focus areas include net play, overhead shots, reading the walls, and pair coordination.
[EXPERT OPINION] You do not need to complete all 8 drills in a single session. Pick 4–5 drills, focusing on the aspects that need the most attention. Rotate the selection from session to session.
You have been playing for months, but progress has stalled. You make the same mistakes, lose to the same opponents, and feel stuck. This is a plateau — and it can be overcome.
The learning curve in padel starts steep: rapid progress, noticeable improvement with every session. Then the curve flattens — progress slows, and eventually seems to stop altogether.
Root Causes
Skipping fundamentals. Players who did not work with a coach early on miss the technical foundation and hit a ceiling sooner
Same partners all the time. No variety in styles means no stimulus to adapt
Bad habits. Without correction, faulty movements become ingrained
Neglecting fitness. Insufficient endurance, strength, and mobility limit technique
Too much power, too little strategy. Trying to win through force instead of tactics
Not working with the walls.Wall play is a core padel skill
Breakthrough Strategies
1. Work with a Coach
Even experienced players benefit from a professional eye. A coach spots what you cannot see yourself — subtle errors in grip, footwork, or contact point.
2. Video Analysis
Recording matches and reviewing them with a coach is one of the most effective ways to find weaknesses. Platforms: CoachMyPadel, Hello Padel Academy, The Padel School.
3. Vary Your Opponents
Play with partners and opponents of different levels and styles. Every new opponent forces you to adapt and develops tactical flexibility.
4. Tournaments
Start with local tournaments. The Americano format is excellent for mixing partners and stepping out of your comfort zone.
5. Percentage Play
Choose shots with the highest probability of winning the point. Do not gamble on spectacular shots — pick the stable option.
6. Targeted Wall Work
Spend 15 minutes each session observing ball rebounds off the back wall without hitting. Then practise shots after the rebound.
7. Physical Training
Cardio — endurance for long rallies
Strength — stability in your shots
Mobility — injury prevention
Shadow play — padel movements without the ball
8. Mental Resilience
Consistency and patience in the absence of visible progress. Improvement is not always linear — there are periods of skill absorption.
Errors become conscious — you understand why they happened
You adapt your tactics to the specific opponent
[EXPERT OPINION] A plateau is not a dead end — it is a sign that you are ready for the next level. The most valuable skill is patience. Keep working, and the breakthrough will come.
No partner? No problem. Solo training gives you total control over pace, repetitions, and movement patterns. No distractions, no score pressure — pure skill refinement.
Tennis players have a head start in padel — but also carry habits that can hold them back. This guide provides specific drills to retrain the muscle memory that matters most, organised into a progressive 6-week programme.
Why Tennis Players Need Specific Drills
Coming from tennis, you already understand racket sports fundamentals: reading the ball, footwork, and competitive mindset. However, several deeply ingrained habits work against you in padel:
Tennis habit
Problem in padel
Drill category
Power-first mentality
Strong shots rebound off glass, helping the opponent
Control drills
Full backswing
No time on the small court; loss of accuracy
Compact swing drills
Eastern/semi-western grip
Limits versatility for volleys and wall play
Grip retraining
Staying behind the baseline
Loses net control; cannot attack
Positioning drills
Two-handed backhand
Limited reach near walls; cramped in tight spaces
One-hand backhand drills
Aggressive serve
Underhand serve in padel; power is not the goal
Serve placement drills
Expert insight (Mauri Andrini, former world champion): “Forget the power strategies and accept a patient, strategic approach. Padel rewards control, not force.”
Category 1: Grip Retraining
Drill 1.1: Continental Grip Wall Rally
Stand 2 m from the back wall. Rally against the wall using only the continental grip (the “handshake” grip). Alternate forehand and backhand without changing grip. Start at a slow pace and increase gradually.
Goal: 50 consecutive hits without changing grip
Focus: Feel the natural wrist angle for both sides
Duration: 10 minutes per session
Drill 1.2: Grip Check Volley
With a partner at the net, exchange volleys. After every fifth hit, check your grip — it should still be continental. Tennis players unconsciously rotate toward an eastern forehand. Reset if needed.
Goal: Maintain continental grip throughout 3-minute volley exchanges
Focus: Awareness over automatic rotation
Category 2: Wall Play Fundamentals
Drill 2.1: Back Glass Read and Return
A partner feeds balls that bounce off the back glass. Your job is to let the ball bounce, read the angle, and return it with a controlled shot. Start with slow feeds and progress to harder ones.
Goal: Return 8 out of 10 feeds with control
Focus: Patience — let the glass do the work; do not swat at the ball
Key tennis fix: Resist the urge to volley before the glass rebound
Drill 2.2: Side Wall Redirect
Stand near the side wall. A partner feeds balls into the wall at various angles. Practice redirecting the rebound cross-court. This builds the spatial awareness that tennis players lack.
Goal: Consistently redirect side wall rebounds into the opposite court
Duration: 15 minutes, alternating sides
Drill 2.3: Double Bounce Reading
A partner feeds deep shots that hit the back wall and then the side wall (or vice versa). The drill trains you to read complex trajectories — a skill that doesn’t exist in tennis.
Goal: Track the full ball path without panicking
Focus: Position yourself after the second bounce, not the first
Category 3: Compact Swing Drills
Drill 3.1: Short Backswing Rally
Play a baseline rally with your partner but limit your backswing to no more than 45 degrees. Place a cone or bag behind your shoulder as a physical barrier. If you hit the cone, the backswing was too big.
Goal: Maintain rally quality with half the swing
Focus: Wrist and forearm control, not shoulder rotation
Drill 3.2: Close-Quarters Volley Exchange
Both players stand 3 m from the net, exchanging rapid volleys. The short distance forces compact movements. No full swings possible — only touch, angle, and placement.
Goal: 30 consecutive exchanges
Focus: Soft hands, quick racket preparation
Category 4: Serve Adjustment
Drill 4.1: Target Box Serves
Mark four target zones in the service box (wide, T, centre, deep). Practice the underhand serve aiming for each zone in sequence. Focus on placement, not pace.
Goal: Hit each zone 3 out of 5 times
Focus: Slice and kick serve variations, not speed
Key tennis fix: Accept that the serve is a placement weapon, not a power weapon
Drill 4.2: Serve and Rush
Serve and immediately move forward to the net with your partner. The drill trains the post-serve transition that is natural in padel but foreign to baseline tennis players.
Goal: Reach the net position before the return crosses the net
Focus: Synchronised movement with partner
Category 5: Soft Shots and Touch
Drill 5.1: Chiquita from the Baseline
Stand at the back of the court. A partner at the net feeds volleys. Your goal is to play chiquitas — soft, low balls at their feet. The drill fights the tennis instinct to hit hard from the back.
Goal: 7 out of 10 chiquitas land below net height at the opponent’s feet
Focus: Soft grip pressure (3/10 on the “squeeze scale”)
Drill 5.2: Drop Shot Touch Exchange
Both players at the net, exchanging drop shots that barely clear the net. The drill builds the soft touch that tennis players often lack.
Goal: 10 consecutive drops that bounce within 1 m of the net
Duration: 5 minutes per set
Drill 5.3: Lob Accuracy
From the back of the court, lob over two net players toward the back wall. Aim for the lob to land in the back third of the court. Tennis players tend to hit lobs too flat and too fast.
Goal: 6 out of 10 lobs land in the back third without being smashed
Focus: Height over speed; arc over power
Category 6: Volley Retraining
Drill 6.1: Punch Volley Elimination
Play volleys with a partner, but any volley with a full swing (arm extending past the shoulder) loses the point. This eliminates the tennis “drive volley” that is counterproductive in padel.
Goal: Win 5 points using only compact punch volleys
Focus: Block, redirect, place — do not drive
Drill 6.2: Low Volley at the Net
A partner feeds low balls from the back. You stand at the net and practise volleys below net height. Continental grip, open racket face, step forward into the ball.
Goal: Return 8 out of 10 low feeds into the court
Key tennis fix: In padel, the low volley is defensive, not an approach shot
Category 7: Overhead Adjustment (Bandeja and Vibora)
Drill 7.1: Bandeja Shadow Swings
Without a ball, practise the bandeja motion: arm at shoulder height, slice downward with the continental grip, follow through across the body. Do 3 sets of 20 repetitions.
Focus: The motion is different from a tennis overhead — it is a slice, not a flat hit
Drill 7.2: Controlled Bandeja Rally
A partner lobs from the back. You hit bandejas aiming for the side glass, keeping the ball in the court. No power smashes — only controlled bandejas.
Goal: Land 7 out of 10 bandejas in the opponent’s half without them bouncing over the glass
Key tennis fix: The bandeja replaces the overhead in most situations
Category 8: Positioning and Movement
Drill 8.1: Net-to-Back Shuttle
Start at the net. A partner lobs. Sprint back, play the ball off the glass, then immediately return to the net. Repeat 10 times. Trains the constant forward-backward movement unique to padel.
Goal: Complete 10 cycles without losing ball control
Focus: Recovery speed and transition footwork
Drill 8.2: Pair Movement Sync
Play practice rallies where both partners must always be on the same horizontal line (both at the net or both at the back). If one player is forward and the other back, the point is lost.
Goal: Play 10 consecutive rallies maintaining pair alignment
Focus: Communication and spatial awareness
6-Week Progressive Programme
Week
Focus
Key drills
Sessions
1
Grip and wall basics
1.1, 1.2, 2.1
3× per week
2
Compact swings and serve
3.1, 3.2, 4.1
3× per week
3
Soft shots and touch
5.1, 5.2, 5.3
3× per week
4
Volley retraining + bandeja
6.1, 6.2, 7.1, 7.2
3× per week
5
Movement and positioning
8.1, 8.2, 2.2, 2.3
3× per week
6
Match play integration
Play sets, applying all drills; 4.2, 5.1 as warm-up
3× per week
Each session: 15 min warm-up + 30 min drills + 15 min match play.
10 Common Mistakes Tennis Players Make in Padel
#
Mistake
Impact
Solution
1
Hitting too hard
Ball rebounds off glass to opponent
Reduce power by 50%; control beats force
2
Ignoring the walls
Volleying balls that should bounce off glass
Let the glass work; play after the rebound
3
Eastern forehand grip
Poor volley control; no versatility
Switch to continental as default
4
Full backswing
Too slow for the small court; loss of accuracy
Compact, short movements (drills 3.1, 3.2)
5
Deep baseline position
Loses net control
Stand closer to net; be ready to move forward
6
Attempting passing shots
Court is enclosed; passing shots rarely work
Use lobs to push opponents back
7
Aggressive “dominate” mindset
Both pairs constantly transition attack/defence
Patience; build the rally to the right moment
8
Two-handed backhand
Limited space near walls and glass
Develop one-handed backhand with continental grip
9
Power serve
Padel serve is underhand; placement over power
Target zones, not speed (drill 4.1)
10
Flat-footed stance
Padel requires instant reactions
Stay on toes, racket up, ready position always
Expert Quotes
“Padel is a new sport — treat it as one! Don’t assume your tennis skills will transfer automatically.” — The Padel School
“It is much easier to build technique from scratch than to fix bad habits accumulated over years.” — Mauri Andrini, Hello Padel Academy
“The glass is your friend, not your enemy. Learn to use it and you’ll unlock a whole new dimension of play.” — Catherine Rose, The Padel Paper
Padel is one of the most child-friendly racket sports. The enclosed court keeps the ball in play, the rules are simple, and the doubles format teaches teamwork from day one. Children as young as 3–4 can start with mini padel, and junior competition circuits are growing rapidly worldwide.
Low-pressure balls (Stage 3/Red), smaller courts, rackets 280–320 g
Junior Padel
8–12
Stage 2/Orange or Green balls, standard courts, rackets 280–330 g
Youth Padel
12–18
Standard or Stage 1/Green balls, full-size courts, rackets 310–350 g
Most academies accept children from age 4–5. The optimal age to begin structured training is around 7–8, when coordination and attention span allow for more focused learning.
Courts for Kids
Mini Padel Courts
Mini padel courts measure 10 × 5 m — exactly one-quarter of a standard court — with walls approximately 1 m high and a net height of 1 m. These smaller dimensions are designed for children under 8.
Research (MDPI, 2025) confirms that reducing court size from 20 × 10 m to 10 × 6 m with low-pressure balls improves skill development in children aged 8–10 without reducing the physical workout.
Mini courts are available as fixed, mobile, or temporary installations and fit in schools, clubs, beaches, and even shopping centres. Adults can also play singles on mini courts.
Equipment
Rackets
Parameter
Kids (5–8)
Junior (8–12)
Youth (12–18)
Weight
230–280 g
280–330 g
310–350 g
Thickness
32–33 mm
33–36 mm
36–38 mm
Length
~45 cm
45–50 cm
Standard
Grip
Small
Small
Standard / adjustable
Shape
Round
Round / Teardrop
Teardrop / Diamond
Key principle: Start with a round shape for the largest sweet spot and best control. A racket that is too heavy can cause muscle strain and early injury.
Recommended models (2025–2026):
Wilson Minions Junior — fibreglass/EVA, ~300 g, designed for the youngest players
Adidas Arrow Hit Junior 2026 — beginner-focused
Head Coello Junior 2026 — teardrop, 310–330 g, versatile
Nox AT10 Genius Jr — inspired by Agustin Tapia’s model
The Stage 1/2/3 classification comes from tennis (ITF Play & Stay). In padel, both dedicated junior balls and tennis training balls are used.
Benefits for Children
Physical Development
Coordination: develops hand-eye coordination, agility, and balance
Cardiovascular fitness: moderate intensity (heart rate 140–160 bpm), gentler than tennis or squash
Strength: 8 weeks of training improves grip strength and jump performance in children aged 11–15 (PMC, 2021)
Cognitive stimulation: rapid decision-making and spatial awareness promote brain development
Low Injury Risk
Padel has an injury rate of approximately 2.75 per 1,000 hours of play — significantly lower than football (4–7 per 1,000 hours). The enclosed court prevents ball injuries, the soft ball and light racket reduce impact, and the small court means less running distance.
Social Skills
Padel is always played in pairs, which naturally teaches:
Communication and trust between partners
Sportsmanship — handling wins and losses together
Friendship through shared teamwork
Inclusivity — the sport’s low barrier to entry means children of different abilities can play together
Accessibility
Simple rules allow a quick start. The enclosed court “keeps” the ball in play, meaning longer rallies and more fun from the first session. Studies show that under-14 players demonstrate better psychological profiles: higher confidence and lower anxiety than older teenagers.
Teaching Methodology
Game-Based Learning
Scientific research confirms that search-based methodology (learning through varied game situations) is significantly more effective than traditional drill-based teaching for children.
Best practices:
Modified equipment (smaller court, lower net, softer balls) combined with game situations
Target-based exercises, scoring rallies, mini tournaments
The international junior circuit has grown dramatically:
Year
Tournaments
2021
3
2022
12
2023
18
2024
41
2025
90
Age categories: Under-12, Under-14, Under-16, Under-18 (boys and girls).
From 2026, FIP Promises adopts a continental structure (Europe, America, Asia/Oceania, Africa), each with its own rankings and finals. A planned Global Under-18 Circuit (from 2027) will feature 10 international tournaments plus a Master Final, with top-10 players earning access to Premier Padel and CUPRA FIP Tour events.
FIP Junior World Championships
National team competitions with categories U14, U16, and U18. The XIV edition (Asuncion, Paraguay, 2023) was won by Spain in both men’s and women’s categories. The XV edition took place in Reus, Spain (2025).
National Age Categories (Spain Example)
Category
Age
Benjamin
8–9
Alevin
10–11
Infantil
12–13
Cadete
14–15
Juvenil
16–18
Players Who Started Young
Player
Started padel at
Career highlight
Arturo Coello
~7 years old
World No. 1 at 21 — youngest ever
Agustin Tapia
~9 years old
No. 1 in U12/U14/U16 for 5 years
Fernando Belasteguin
~13 years old
World No. 1 for 16 consecutive years
Alejandra Salazar
~8 years old
One of the greatest female padel players
Juan Lebron
~7–8 years old
Multiple Spanish junior champion
Guide for Parents
Costs
Item
Approximate cost
Junior racket
€30–80 (beginner), €80–150 (advanced)
Balls (3-pack)
€5–10
Shoes
€40–80 (non-marking sole)
Court rental
€30–60/hour for 4 players (€7–15 per person)
Racket rental
€5–10 per session
Group lesson
€15–30 per person for 60–90 min
Private lesson
€50–120/hour
Tip: Many clubs offer racket rental and free introductory sessions. Start with rental before investing in equipment.
Supporting Without Pressure
Research in sports psychology consistently shows that excessive parental pressure reduces enjoyment and can cause lasting psychological harm. Autonomous support (rather than controlling behaviour) increases confidence, enjoyment, and long-term engagement.
Guidelines:
Praise effort, not results
Do not criticise after losses
Let the child determine their own level of involvement
Participate actively — play mini padel together
Choose a club with trial sessions and observe the coaching style
Use padel’s doubles format to encourage socialising with friends
Finding a Junior Programme
Check your national federation’s website (FEP, LTA, USPA, etc.)
Ask at local tennis clubs — many now offer padel
Search Decathlon or sports retailers for local programme information
Every padel player who plays regularly will benefit from working with a coach. The question is not “do I need a coach?” but “when and what format should I choose?”
[EXPERT OPINION] Do not wait until you hit a plateau. Investing in a coach early on prevents problems that are expensive to fix later. The Padel School reports noticeable results within 6 weeks.